Introduction to Homemade Cheez-Its
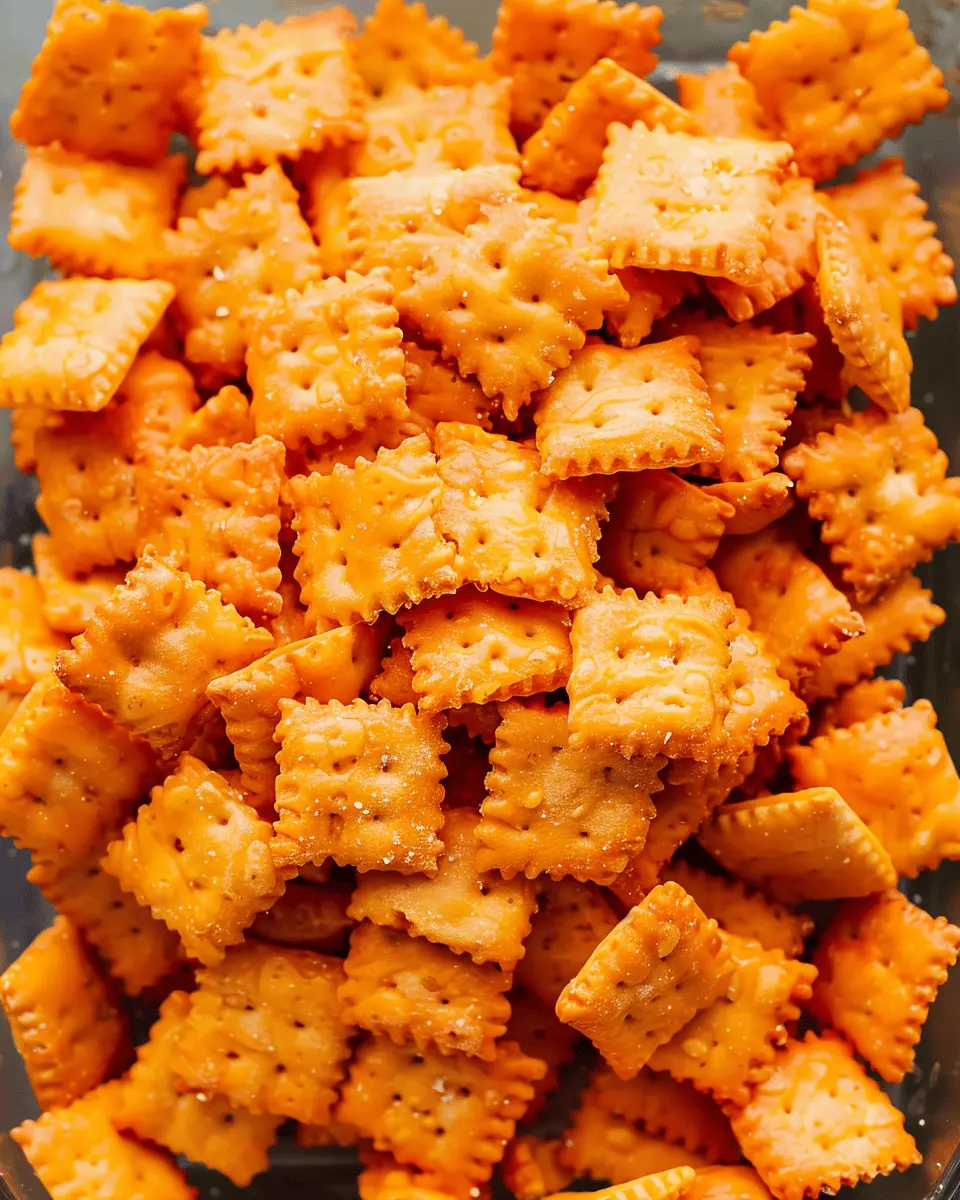
If you’ve ever craved a crunchy, cheesy snack, you likely know the joy of munching on Cheez-Its. But have you considered making your own homemade Cheez-Its? Crafting them in your kitchen can be a rewarding experience that allows you to customize ingredients to your liking, leading to a delicious treat that’s both satisfying and delightful!
Why make your own Cheez-Its at home?
The number one reason to whip up a batch of homemade Cheez-Its is simple: flavor! Store-bought varieties often have preservatives and artificial flavors that can detract from the authentic cheese taste you might be craving. In contrast, making them yourself gives you the freedom to choose high-quality cheese, like sharp cheddar or even gouda, ensuring every bite is bursting with pure cheesiness.
Additionally, homemade snacks are a fun project for any food enthusiast. Think about it: Wouldn’t it be satisfying to pull a warm tray of perfectly golden-brown homemade Cheez-Its out of the oven? Plus, with a few specialty ingredients like “turkey bacon” or “chicken ham,” you can easily elevate your snack game, adding a unique twist to each bite! Want to make it even healthier? You can adjust the dough to be whole grain or experiment with gluten-free flours.
Not convinced yet? Consider this: According to the Snacking in America 2022 report, the snack food market is booming, with consumers looking for better-for-you options. By creating your homemade delights, you control what goes into them, providing peace of mind while curbing those pesky cravings.
And let’s be honest: who doesn’t love the aroma of fresh-baked cheese crackers wafting through their home? It’s an experience that often surpasses any store-bought alternative. If you’re searching for a fun culinary adventure, look no further than these homemade Cheez-Its—a simple treat that offers endless possibilities for customization and flavor exploration!
So grab your apron and let’s dive into the delicious world of homemade snacking!
Ingredients for Homemade Cheez-Its
Essential ingredients for the classic recipe
Creating your own homemade Cheez-Its starts with some staple ingredients that deliver that classic cheesy flavor and crunch. You’ll need:
- Sharp Cheddar Cheese: The star of the show, sharp cheddar provides the rich, tangy flavor that makes Cheez-Its irresistible.
- All-Purpose Flour: For the perfect texture, this will be your base.
- Butter: Adds richness and helps achieve that delightful crispiness.
- Salt: A crucial element to enhance the flavor.
- Water: Just a splash to bring the dough together.
Simple, right? With these ingredients, you’re already on the path to creating a snack that’s better than the store-bought version.
Optional ingredients for added flair
Want to take your homemade Cheez-Its to the next level? Consider mixing in some optional ingredients that can elevate the taste:
- Spices: A pinch of smoked paprika or cayenne for a kick.
- Herbs: Dried rosemary or thyme for a herbal twist.
- Turkey Bacon: Crumbled for a savory bite or a sprinkle of Chicken Ham for added depth.
With these adaptable ingredients, you can customize your Cheez-Its to match your personal taste. So, what flavor combination will you try first?
Preparing Homemade Cheez-Its
Who doesn’t love a crunchy snack with a bit of cheesy goodness? Making homemade Cheez-Its is surprisingly easy and perfect for those cozy nights in or when you’re looking to impress your friends with a homemade treat. Let’s dive into the steps to crafting these delightful bites!
Gather your ingredients
Before you start, ensure you have all the necessary ingredients on hand. Here’s what you’ll need:
- Cheddar cheese: Use sharp cheddar for a more robust flavor.
- All-purpose flour: This forms the base of your dough.
- Unsalted butter: For that rich, flaky texture.
- Salt: To enhance the cheese flavor.
- Paprika or cayenne pepper (optional): For a hint of spice.
- Water: A little to help the dough come together.
It’s always a good idea to invest in high-quality ingredients, particularly the cheese, as it significantly impacts the taste of your homemade Cheez-Its. Check out this guide to cheese varieties for some tips on finding the right kind for your recipe.
Blend the dry ingredients together
In a mixing bowl, start by combining your all-purpose flour and salt. Give it a whisk to break up any lumps, ensuring an even distribution of salt. If you’re feeling adventurous and want to spice things up, you can add a pinch of paprika or cayenne pepper for that little kick. Mixing dry ingredients thoroughly is essential, as it allows for uniform flavor throughout your homemade Cheez-Its.
Incorporate the cheese and butter
Next, it’s time to bring in the star of the show: the cheese! Grate your sharp cheddar cheese and add it to the flour mixture. Then, cut in the unsalted butter using a pastry cutter or your fingers until the mixture resembles coarse crumbs. You really want that cheesiness to permeate the dough, so don’t be shy with the cheese!
Form the dough
Once you have a crumbly mixture, it’s time to bring it all together. Slowly add water a tablespoon at a time, mixing gently until the dough comes together. It should be moist but not sticky. If you find it a little too dry, you can add a tiny bit more water.
Here’s a pro tip: let the dough rest in the fridge for about 30 minutes. This little step allows the flavors to meld beautifully and makes rolling it out much easier.
Roll and cut the dough
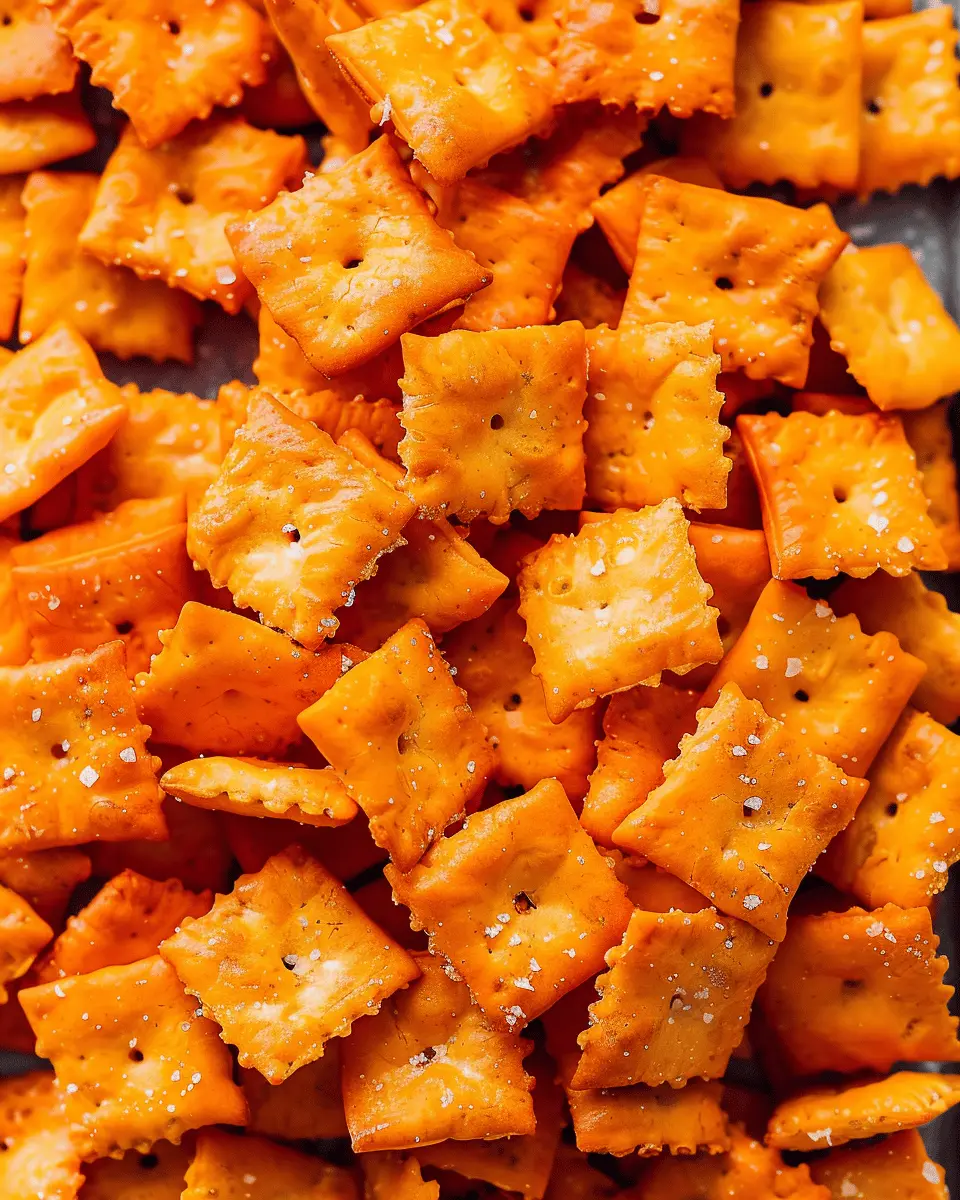
After letting the dough chill, sprinkle a bit of flour on your work surface and roll out the dough to about 1/8 inch thickness. Use a pizza cutter or a sharp knife to cut the dough into small squares, specifically about 1-inch by 1-inch pieces. To make them look just like store-bought Cheez-Its, you can poke a hole in the center of each cracker with a toothpick. It’s the little details that make a big difference!
Bake the Cheez-Its to perfect crunchiness
You’re almost there! Preheat your oven to 350°F (175°C) and line a baking sheet with parchment paper. Place your cut squares on the sheet, leaving space in between for expansion. Bake for about 15–20 minutes or until they’re golden brown and crisp. Keep a close eye on them, as the baking time can vary depending on your oven.
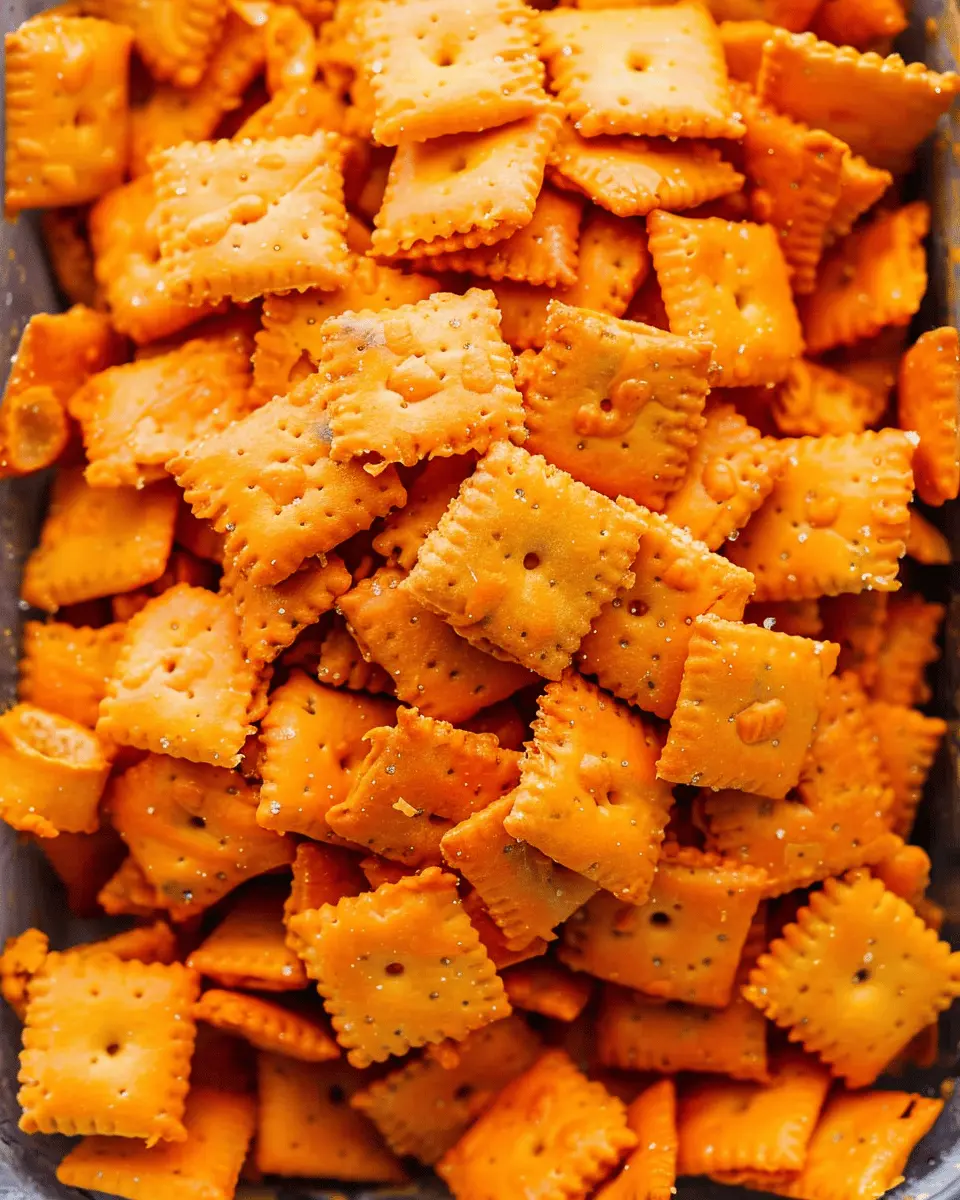
Once they’re out of the oven, let them cool. They will crisp up even more as they cool down. Now, be ready to enjoy your delicious homemade Cheez-Its! These crunchy snacks are perfect for snacking while binge-watching a favorite show or to add to a party platter.
Making your own homemade Cheez-Its not only gives you control over the ingredients but also the satisfaction of creating something delicious from scratch. Enjoy!
Variations on Homemade Cheez-Its
Creating your own homemade Cheez-Its is a fun culinary adventure, and it gets even better when you explore creative variations. Whether you’re a spice lover, an herb enthusiast, or need a gluten-free option, there’s a Cheez-It recipe for everyone.
Spicy Homemade Cheez-Its
If you crave a little heat, consider adding chili powder, cayenne pepper, or even some finely chopped jalapeños to your homemade Cheez-Its dough. This combo not only amps up the flavor but also gives your snacks a delightful kick. For an even more intense experience, try sprinkling crushed red pepper flakes on top before baking. You can find excellent chili powder options here.
Cheesy Herb Variations
Herbs can elevate the flavor profile of your cheesy bites. Think about mixing in fresh or dried herbs like rosemary, thyme, or oregano. These additions complement the cheddar beautifully. For a unique twist, blending in nutritional yeast can amp up the cheesy taste while providing extra nutrients. Personally, I love a blend of garlic powder and Italian seasoning, making for a savory snack that’s hard to resist!
Gluten-Free Homemade Cheez-Its
For those watching their gluten intake, making homemade Cheez-Its gluten-free is easy! Simply substitute regular flour with a gluten-free all-purpose flour blend. Ensure the blend contains xanthan gum, as it helps replicate that perfect crispy texture. You can also explore using almond or chickpea flour for an added nutritional boost. Don’t forget to check out the Celiac Disease Foundation for more helpful resources on gluten-free cooking.
Embrace these variations and let your creativity shine—who says homemade Cheez-Its have to be just cheesy? They can be so much more!
Cooking Tips for Homemade Cheez-Its
Best Practices for a Successful Batch
Creating homemade Cheez-Its can be a fun and rewarding experience! To get the perfect crunchy texture, consider these tips:
- Use Fresh Ingredients: Quality cheese makes all the difference. Opt for sharp cheddar or a blend for that authentic flavor.
- Chill the Dough: After mixing, let the dough rest in the fridge for at least 30 minutes. This helps with easy rolling and enhances the flavor.
- Roll Evenly: Aim for a uniform thickness—about 1/8 inch. This ensures that all your Cheez-Its bake evenly.
For a twist, try adding spices like paprika or garlic powder. You can find some inspiration on websites like Food Network or Serious Eats.
Common Mistakes to Avoid
Sometimes, the simplest mistakes can lead to epic failures. Here’s what to watch out for:
- Overbaking: Keep a close eye on your homemade Cheez-Its! They can go from perfect to burnt in a flash. Aim for a golden color.
- Skipping Salt: Don’t forget to sprinkle salt on top before baking. It enhances the flavor beautifully.
- Crowding the Baking Sheet: Give them space! This allows the air to circulate, ensuring perfect crispness.
By avoiding these pitfalls, your homemade snacks will turn out perfectly every time. Happy baking!
Serving Suggestions for Homemade Cheez-Its
Perfect Pairings with Dips
When it comes to enjoying your homemade Cheez-Its, adding a delightful dip can elevate the experience. Here are some crave-worthy options:
- Classic Marinara: The tangy tomato base offers a wonderful contrast to the cheesy flavor.
- Creamy Ranch Dressing: Its herby & rich profile pairs beautifully with the crunch of your homemade Cheez-Its.
- Guacamole: This creamy avocado dip adds a fresh twist that will have your guests reaching for more.
For inspiration on making your dips extra tasty, check out expert guidance from Food Network.
Fun Serving Ideas for Gatherings
Hosting a get-together? Showcase your homemade Cheez-Its in a fun and engaging way:
- Cheese Board: Scatter them on a charcuterie platter alongside sliced turkey bacon and chicken ham, bringing different textures and flavors together.
- Party Bag Favors: Put them in cute, small bags for guests to take home. Who wouldn’t love a little snack surprise?
- Game Night Centerpiece: Create a Cheez-It bowl surrounded by assorted dips and drinks—perfect for movie or game night!
These engaging presentation ideas not only make your homemade Cheez-Its the star of the show but also provide memorable experiences for your guests. With simple yet creative pairings, your next gathering will be a hit!
Time Breakdown for Homemade Cheez-Its
Preparation Time
Getting those crispy, cheesy bites ready doesn’t take long! You’ll need about 15 minutes to gather your ingredients and mix everything. Make sure to set the right mood—maybe turn on some music that makes you want to dance while you knead that dough!
Cooking Time
Once your dough is ready, it’s time to bake. Your homemade Cheez-Its will take approximately 20 minutes in the oven. Keep an eye on them to ensure they turn golden without burning.
Total Time
All in all, you’re looking at about 35 minutes from start to snacking. Perfect for a cozy evening or a last-minute game night treat! If you’re curious about variations, check out this handy guide on cheese alternatives for more ideas!
Nutritional Facts for Homemade Cheez-Its
When satisfying that crunchy snack craving, homemade Cheez-Its can be a delightful choice while also being mindful of nutrition.
Calories per serving
In each serving of homemade Cheez-Its, you’ll find approximately 150 calories. This makes them a guilt-free option for a late afternoon pick-me-up or a movie night treat.
Nutritional breakdown
Here’s a closer look at the nutritional profile of these cheesy bites:
- Fat: About 8 grams
- Protein: Roughly 4 grams
- Carbohydrates: Around 18 grams
The balance of fat, protein, and carbs makes these snacks not only delicious but also satisfying. For more insights on healthy snacking, check out Healthline’s guide on snack choices.
Do you ever wonder if you can indulge in your favorite snacks without overdoing it? By making your own homemade Cheez-Its, you can control the ingredients, making them as wholesome as you want. Instead of store-bought snacks packed with preservatives, enjoy the real taste of fresh cheese and spices. Remember, it’s all about balance! For a deeper dive into healthy eating habits, visit ChooseMyPlate.gov.
FAQs about Homemade Cheez-Its
Making homemade Cheez-Its is a delightful adventure, but you might have some questions. Let’s dive into the most common queries!
Can I use different cheeses?
Absolutely! One of the joys of creating your own homemade Cheez-Its is experimenting with cheese varieties. Cheddar is the classic choice, but don’t hesitate to blend in your favorites. Think Gruyère for a nutty flavor or pepper jack for a fun kick! Just keep in mind that moisture and fat content will vary among cheeses. If you choose a softer cheese, like Brie, you may need to adjust the flour ratio for the perfect consistency.
How can I store homemade Cheez-Its?
Proper storage is key to keeping your homemade Cheez-Its crispy and fresh. Once they cool completely, place them in an airtight container at room temperature. They’ll stay crunchy for about a week, but let’s be real—there’s a good chance they won’t last that long! For longer storage, consider freezing them. Freeze in a single layer on a baking sheet, then transfer to a zip-lock bag, where they can last up to three months. Just pop them back in the oven for a few minutes when you’re ready to enjoy!
What size should I cut the Cheez-Its for baking?
Cutting your dough into uniform squares is essential for even baking. Aim for about 1-inch squares. This size offers that perfect balance between crunchy edges and a satisfying bite. Plus, they look adorable snacking alongside a refreshing drink, like homemade lemonade or iced tea.
For more tips on homemade snacks, check out Culinary School 101 for expert advice and recipes!
Conclusion on Homemade Cheez-Its
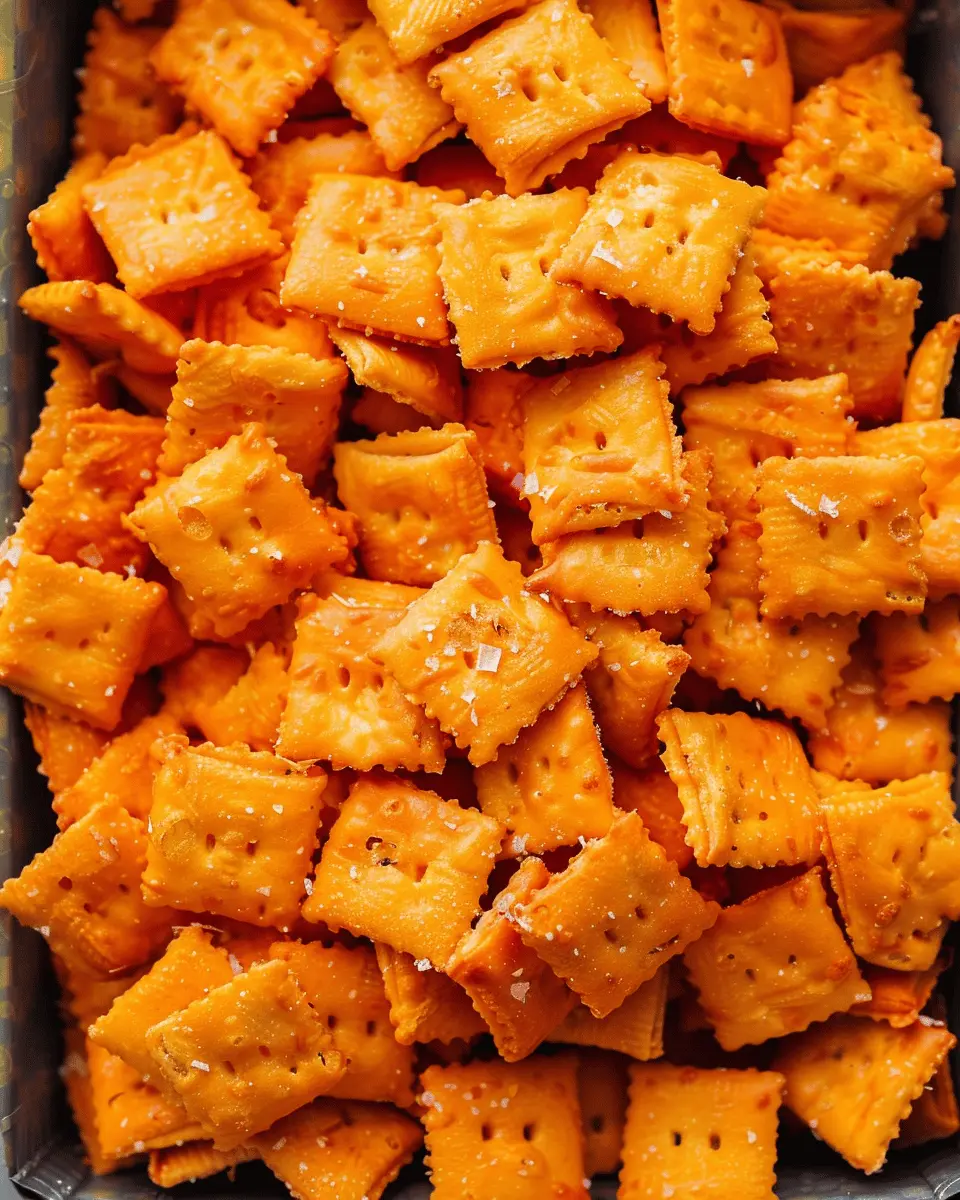
When it comes to snacking, homemade Cheez-Its stand out as a delightful alternative to their store-bought counterparts. Not only can you control the ingredients, but making them yourself allows for personalization that you simply can’t get from a box. Did you know that many commercial snacks can contain additives and preservatives? By crafting your own, you know exactly what’s going into each crispy bite.
In addition, the aroma that fills your kitchen while making these cheesy treats is unbeatable. Imagine pulling a warm batch out of the oven, with crispy edges and gooey cheese flavor—all made with love. So next time you’re craving a savory snack, give homemade Cheez-Its a try. You’ll wonder why you ever reached for the packaged version!
PrintHomemade Cheez Its: The Best Flavor-Packed Snack You’ll Love
Experience the cheesy goodness of Homemade Cheez Its that you’ll love to snack on anytime!
- Prep Time: 15 minutes
- Cook Time: 20 minutes
- Total Time: 35 minutes
- Yield: 4 servings 1x
- Category: snacks
- Method: baking
- Cuisine: American
Ingredients
- 1 cup shredded cheddar cheese
- 1/4 cup unsalted butter
- 1 cup all-purpose flour
- 1/2 teaspoon salt
- 1/4 teaspoon paprika
- 1/4 teaspoon garlic powder
- 1 tablespoon cold water
Instructions
- Preheat oven to 350°F (175°C).
- In a mixing bowl, combine shredded cheese and butter. Mix until creamy.
- Add flour, salt, paprika, and garlic powder to the cheese mixture. Stir until combined.
- Gradually add cold water to form a dough.
- Roll out the dough on a floured surface to 1/8 inch thickness.
- Cut into squares and place on a baking sheet.
- Bake for 15-20 minutes or until the edges are golden brown.
- Let cool before serving.
Notes
- For extra flavor, add your favorite seasoning to the dough.
- These snacks can be enjoyed fresh or stored for later.
Nutrition
- Serving Size: 1 ounce
- Calories: 150
- Sugar: 1g
- Sodium: 150mg
- Fat: 10g
- Saturated Fat: 6g
- Unsaturated Fat: 4g
- Trans Fat: 0g
- Carbohydrates: 12g
- Fiber: 0g
- Protein: 4g
- Cholesterol: 20mg
Keywords: Homemade Cheez Its, snack, cheese crackers


