Introduction to Homemade Bread
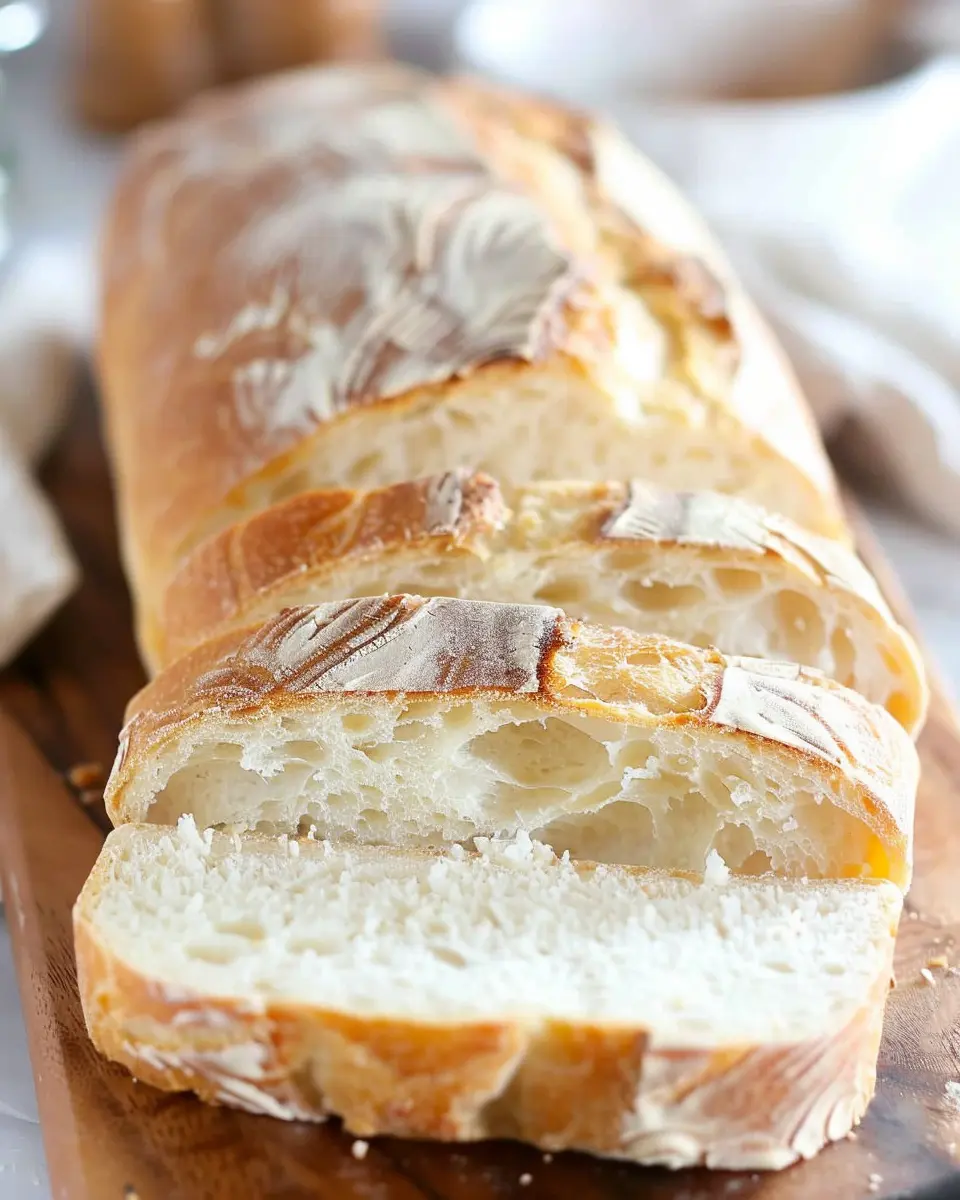
Ah, there’s nothing quite like the scent of freshly baked homemade bread wafting through your kitchen. It’s not just about the delightful aroma; it’s about the memories and comfort that come with each slice. Whether you’re preparing a casual dinner or an over-the-top celebration, homemade bread always has a way of making the occasion feel special.
Why Homemade Bread is the Ultimate Comfort Food
Let’s face it: we all have those moments when we crave something warm and comforting. That’s where homemade bread comes into play. It’s like a trusty friend that hugs you right back when the world feels a little overwhelming. The joy of kneading dough can be therapeutic, allowing you to disconnect from daily stress while connecting with the simple pleasures of cooking.
When you whip up a loaf at home, you can customize it to your taste. Want to add herbs, garlic, or even some Turkey Bacon bits? Go for it! You can experiment and play – and that’s part of the fun.
Interestingly, a study from the Journal of Nutritional Science suggests that homemade foods, like bread, generally contain fewer preservatives and additives than store-bought. Plus, knowing exactly what’s going into your food can be incredibly satisfying. Not to mention, serving friends and family a slice of your very own homemade bread brings a sense of pride that store-bought simply can’t match.
You may be wondering, “Okay, but isn’t it complicated?” Fear not! While bread-making has a mystical reputation, it’s surprisingly approachable. With just a few ingredients—flour, water, yeast, and salt—you can create something magical. If you’re still unsure, you can find numerous resources online, such as King Arthur Baking, which offers fantastic guides for budding bakers.
So gather your ingredients, roll up those sleeves, and prepare yourself for a baking adventure. With the right ingredients and a little bit of time, you’ll discover that not only is homemade bread incredibly rewarding, but it also fills your home with warmth and love. There’s no better feeling than sharing it with others!

Ingredients for Homemade Bread
When it comes to crafting the perfect homemade bread, having the right ingredients on hand is essential. Here’s a breakdown of the must-haves for your baking adventure.
Essential pantry ingredients for perfect bread
- All-Purpose Flour: The backbone of your bread, providing structure and texture. You can also experiment with bread flour for a chewier bite.
- Yeast: Instant or active dry yeast works wonders by helping the dough rise. Make sure it’s fresh—yeast doesn’t last forever!
- Water: The temperature matters! Lukewarm water (around 110°F) activates the yeast effectively.
- Salt: Not just for flavor, salt strengthens the gluten and controls yeast activity.
- Sugar: A touch of sweetness to feed the yeast—granulated sugar, honey, or even maple syrup are great choices.
- Fat: Olive oil or melted butter enriches the dough, making it softer and tastier.
Having these basic ingredients will set you up for success. Want to dive deeper into the science of baking? Check out professional baking resources like this one for expert tips!
Preparing Homemade Bread
Making your own bread at home is not just rewarding but also incredibly fulfilling. The process may seem daunting at first, but with a friendly guide, you’ll quickly find that creating homemade bread can become one of your favorite kitchen activities. Let’s break it down step by step!
Gather All Your Ingredients
Before diving into the world of fresh bread making, it’s crucial to gather all your ingredients. This might seem basic, but it sets the foundation for success. You’ll need:
- High-quality flour: All-purpose or bread flour works best.
- Active dry yeast: Essential for that lovely rise.
- Warm water: About 110°F (43°C), it should feel warm but not hot to the touch.
- Sugar: Just a teaspoon helps activate the yeast.
- Salt: For flavor and controlling yeast action.
- Olive oil or melted butter: For richness and moisture.
Having everything at hand helps you stay focused and makes the process feel seamless. Consider using this opportunity to learn more about the role of each ingredient in bread making (check out resources like King Arthur Baking for more details).
Proofing the Yeast – Why It Matters
Once your ingredients are ready, it’s time to get your yeast working. Proofing is simply dissolving the yeast in warm water along with a little sugar and letting it sit for about 5-10 minutes. Why does this matter? This process activates the yeast and ensures it’s alive and kicking, which is essential for a good rise in your homemade bread.
When your yeast mixture bubbles and froths, you can feel confident that your dough will rise beautifully. If it doesn’t foam, you might want to double-check your yeast’s expiration date! (Fresh yeast is key.)
Mixing and Forming the Dough
With your proofed yeast, it’s time to mix in the flour, salt, and oil. You can do this in a bowl or a stand mixer fitted with a dough hook. Mix until you see a cohesive dough start to form. If the dough feels too sticky, don’t hesitate to add a little more flour, but remember, a wet dough is key to achieving that soft texture!
Kneading – The Secret to Texture
Now comes the fun part—kneading! This step is crucial because it develops gluten, giving your bread its structure. Knead the dough on a lightly floured surface for about 8-10 minutes, or until it becomes smooth and elastic. A good test is to poke it—if the dough springs back, you’re on the right track!
Have you ever wondered about the impact of kneading on texture? According to food scientists, this not only improves the dough’s structure but also enhances the overall flavor through fermentation.
The First Rise – Patience Pays Off
Place your kneaded dough into a lightly greased bowl, cover it with a damp cloth, and let it rise in a warm environment for about an hour. This is where the magic happens—patience truly pays off! Allowing the dough to rise doubles its size, creating the airy texture we all love in homemade bread.
Shaping the Loaves
Once your dough has risen, punch it down to release air bubbles and transfer it to a floured surface. Now comes the shaping! Whether you prefer round or oval loaves, shape your dough accordingly. Tuck the edges underneath to create a smooth top, which helps with an even rise during baking.
The Second Rise – Let It Grow
Place your shaped loaves on a baking sheet lined with parchment paper, cover them again, and let them rise for another 30-40 minutes. This second rise is crucial—it’s when the dough expands further and develops its final flavor.
Baking and the Aroma of Fresh Bread
Finally, it’s time for baking! Preheat your oven to 375°F (190°C) and let the aroma of fresh bread fill your kitchen. Bake for about 25-30 minutes, or until golden brown and sounds hollow when tapped. The wait will be worth every second—there’s nothing quite like that first slice of homemade bread.
Now that you know the steps to prepare your own bread, why not invite friends over for a baking session? Or make some sandwiches with that delicious turkey bacon and chicken ham. The possibilities are endless! Happy baking!
Variations on Homemade Bread
Baking homemade bread can be a wonderful way to explore your culinary creativity. Below are some delightful variations that elevate your bread-making game, ensuring there’s something for everyone!
Whole Wheat Homemade Bread for a Health Boost
If you’re looking to incorporate more whole grains into your diet, consider making whole wheat homemade bread. Whole wheat flour is packed with fiber and nutrients, making it a healthier alternative to white bread. To create this heartier bread, simply replace half of the all-purpose flour in your recipe with whole wheat flour. This small adjustment will not only enhance the flavor but also provide a wholesome boost that keeps you fuller longer. According to a study published by the American Journal of Clinical Nutrition, consuming whole grains can lower the risk of heart disease.
Herb-Infused Homemade Bread for Flavor
Why settle for plain bread when you can add a burst of flavor? Herb-infused homemade bread is a fantastic way to impress at gatherings. Choose fresh herbs like rosemary, thyme, or basil, and mix them into your dough for a fragrant loaf. You can even pair it with a delicious dipping oil or spread; think of the Mediterranean vibes while enjoying a slice warm from the oven! Want to elevate the flavor even more? A sprinkle of sea salt on top right before baking works wonders.
Sweet Homemade Bread with Honey or Cinnamon
Indulging in a sweet treat does not have to mean sacrificing healthiness. Sweet homemade bread made with honey or cinnamon can satisfy your cravings without guilt. For a simple variation, add a tablespoon of honey to your dough. Another option is to sprinkle cinnamon and sugar on top before baking. As it bakes, the aroma fills your kitchen, making it nearly impossible to resist. Did you know that studies suggest cinnamon can help regulate blood sugar levels?
Try these variations and watch how a simple homemade bread recipe can transform into delightful treats that impress family and friends alike. Happy baking! For more great bread recipes or tips, check out resources from the Whole Grains Council or The Bread Baker’s Guild.
Baking Notes for Homemade Bread
Common Pitfalls and How to Avoid Them
Baking homemade bread can be a joyful endeavor, but common mistakes can lead to disappointments. One frequent issue is not allowing your dough enough time to rise. Be patient—good things come to those who wait! If your bread is dense, you might not have kneaded it enough; aim for a smooth, elastic texture. Also, ensure that your yeast is fresh. If you’re unsure, activate it in warm water with a pinch of sugar before mixing!
Adjustments for Altitude and Humidity
Baking at high altitudes can be a challenge. If you’re in a mountainous region, you might need to reduce the baking powder and increase the flour slightly to avoid a dry dough. Additionally, in humid climates, flour absorbs moisture, so consider reducing the water in your recipe. Use a kitchen scale for precision and check out King Arthur Baking for more tips tailored to your environment. Remember, every detail counts when crafting perfect homemade bread!
Serving Suggestions for Homemade Bread
When you’ve put in the effort to create delicious homemade bread, you want to make the most of it! Here are some delightful serving suggestions that will elevate your bread experience.
Tasty Toppings and Spreads for Your Fresh Bread
The beauty of homemade bread lies in its versatility. Consider these flavorful toppings:
- Cream Cheese and Herbs: Spread on a generous layer of cream cheese, then sprinkle fresh herbs like dill or chives.
- Avocado Smash: Mash ripe avocado with lime, salt, and chili flakes for a trendy twist.
- Nut Butters: A classic choice! Slather on some almond or peanut butter, topped with banana slices—perfect for breakfast.
For additional inspiration, check out this guide on bread spreads.
Pairing Homemade Bread with Soups and Salads
There’s nothing quite like savoring your homemade bread alongside a warm bowl of soup or a fresh salad. Think about pairing it with:
- Butternut Squash Soup: Its creamy texture complements the crusty bread beautifully.
- Caesar Salad: Use your bread to soak up the dressing for a delightful bite.
- Chickpea Salad: This hearty option balances well with the bread’s comforting taste.
Experiment with these combinations to discover your favorites! What’s your go-to pairing?
By adopting some of these serving ideas, you’ll ensure your homemade bread sessions are not just meals, but memorable dining experiences.
Tips for Making Perfect Homemade Bread
Ensuring the right texture and crust
Achieving the ideal texture and crust for your homemade bread is crucial! Start by using the right flour; bread flour often gives a chewier texture because of its higher protein content. Don’t shy away from kneading! Proper kneading develops gluten, leading to a fluffy and airy loaf. Aim for a smooth and elastic dough.
When it comes to baking, preheating your oven thoroughly is key! Place a baking stone or a cast-iron skillet inside to create steam, which contributes to that crispy crust. A simple trick? Spraying the loaf with water before baking can enhance crustiness. The ideal internal temperature for freshly baked bread is about 190°F (88°C). Invest in a kitchen thermometer to check, ensuring you’re not just guessing.
How to store bread for optimal freshness
Storing your homemade bread correctly will help maintain its freshness. Once fully cooled, wrap the loaf in a clean kitchen towel or paper bag to allow airflow and prevent it from getting soggy. If you plan to keep it longer than a few days, consider freezing it. Slice your bread before freezing for easier access to just the right amount—you can toast individual slices straight from the freezer!
For additional tips on bread storage, consider checking King Arthur Baking for expert advice. Enjoy your fresh homemade bread!
Time details for Homemade Bread
When it comes to making homemade bread, understanding the timing can streamline the process and make it more enjoyable. Here’s a quick breakdown:
Preparation time
To get things rolling, you’ll need about 15 to 20 minutes to prepare your ingredients and knead the dough. Gather everything you need and let’s get started!
Rising time
Patience is key with homemade bread. Allow the dough to rise for approximately 1 to 1.5 hours, until it doubles in size. This step is crucial for achieving that light and fluffy texture.
Baking time
Once your dough is ready, preheat your oven and bake the bread for 25 to 30 minutes. Keep an eye on it; you’ll want that golden-brown crust!
Total time
From start to finish, expect to spend about 2.5 to 3 hours on your homemade bread, including both preparation and rising time. For a deeper dive into the art of bread-making, check out resources like King Arthur Baking or The Fresh Loaf. Enjoy the process!
Nutritional Information for Homemade Bread
When it comes to homemade bread, knowing the nutritional content can help you make informed choices. Here’s a quick breakdown of what to expect in each serving:
Calories
A slice of homemade bread typically contains around 70–80 calories, depending on your choice of ingredients and portion size. By using whole grains, you can enhance the bread’s nutritional value without significantly increasing the calorie count.
Protein
Incorporating protein-rich grains can elevate the protein content to about 3–4 grams per slice. This is particularly beneficial if you’re looking to make a filling sandwich or toast topped with turkey bacon or chicken ham.
Sodium
The sodium content in your homemade bread depends largely on the amount of salt you add. A typical loaf may have around 120–150 mg of sodium per slice, making it a heart-healthy option if consumed mindful of your overall intake.
Creating your own bread not only allows you to control the ingredients but also gives you the satisfaction of enjoying freshly baked goodness. Want to dive deeper into the health benefits of making homemade bread? Check out sources like Healthline and The Whole Grains Council for more information!
FAQs about Homemade Bread
Why does my bread not rise properly?
If your homemade bread isn’t rising as it should, a few culprits might be at play. First, ensure your yeast is fresh. Yeast that has expired or been improperly stored can lose its effectiveness. Additionally, the water temperature is crucial; water that’s too hot can kill yeast, while water that’s too cold can hinder its activation. For best results, aim for around 110°F (43°C).
Another common issue could be your dough not being kneaded enough. Proper kneading helps develop gluten, resulting in a better rise. Lastly, make sure to give your dough ample time to proof—rushing this step can lead to disappointing results.
Can I freeze my homemade bread?
Absolutely! Freezing your homemade bread is a fantastic way to preserve it. Allow your bread to cool completely after baking, then wrap it tightly in plastic wrap or aluminum foil, and place it in an airtight container or a resealable freezer bag. When you’re ready to enjoy it, just take it out and let it thaw at room temperature, or pop slices in the toaster for a quick warm-up!
How long does homemade bread stay fresh?
Homemade bread typically stays fresh for about 3 to 5 days when stored at room temperature in a cool, dry place, away from direct sunlight. If you want to extend its shelf life, consider keeping it in the fridge, but be mindful that this can change the texture over time. For longer storage, freezing is definitely the way to go!
For more tips on bread storage, check out sources like The Bread Baker’s Apprentice, which dives deeper into the art of bread making.
Conclusion on Homemade Bread
The Joy of Baking Your Own Bread
Baking your own homemade bread is more than just preparing food; it’s an experience that warms the heart and fills your home with delightful aromas. Each loaf tells a story—from selecting ingredients to that satisfying moment when you take it out of the oven, golden and crusty.
Imagine the first bite of warm bread spread with butter, or the satisfaction of crafting a sandwich with turkey bacon and chicken ham on fresh bread. Plus, making it at home allows you to control what goes in, ensuring quality and flavor. So, whether you’re a novice or a pro, the adventure of baking deserves a spot in your kitchen. For more baking inspiration, check out King Arthur Baking and explore their range of recipes. Happy baking!
PrintHomemade Bread Made Easy: Freshly Baked Perfection at Home

Learn how to make homemade bread with this easy recipe that results in freshly baked perfection.
- Prep Time: 10 minutes
- Cook Time: 35 minutes
- Total Time: 1 hour 45 minutes
- Yield: 1 loaf 1x
- Category: Breads
- Method: Baking
- Cuisine: American
- Diet: Vegetarian
Ingredients
- 4 cups all-purpose flour
- 2 teaspoons salt
- 1 tablespoon sugar
- 2 teaspoons active dry yeast
- 1 ½ cups warm water
- 2 tablespoons olive oil
Instructions
- In a large bowl, combine the flour, salt, sugar, and yeast.
- Add warm water and olive oil, and stir until a dough forms.
- Knead the dough on a floured surface for about 10 minutes.
- Place the dough in a greased bowl, cover, and let it rise for 1 hour.
- Preheat your oven to 375°F (190°C).
- Punch down the dough and shape it into a loaf.
- Place the loaf in a greased loaf pan and let it rise for another 30 minutes.
- Bake the bread for 30-35 minutes until golden brown.
- Let it cool before slicing.
Notes
- For a crusty bread, place a pan of water in the oven while baking.
Nutrition
- Serving Size: 1 slice
- Calories: 120
- Sugar: 0.5g
- Sodium: 200mg
- Fat: 3g
- Saturated Fat: 0.5g
- Unsaturated Fat: 2g
- Trans Fat: 0g
- Carbohydrates: 23g
- Fiber: 1g
- Protein: 4g
- Cholesterol: 0mg
Keywords: Homemade Bread, Baking, Easy Recipes


