
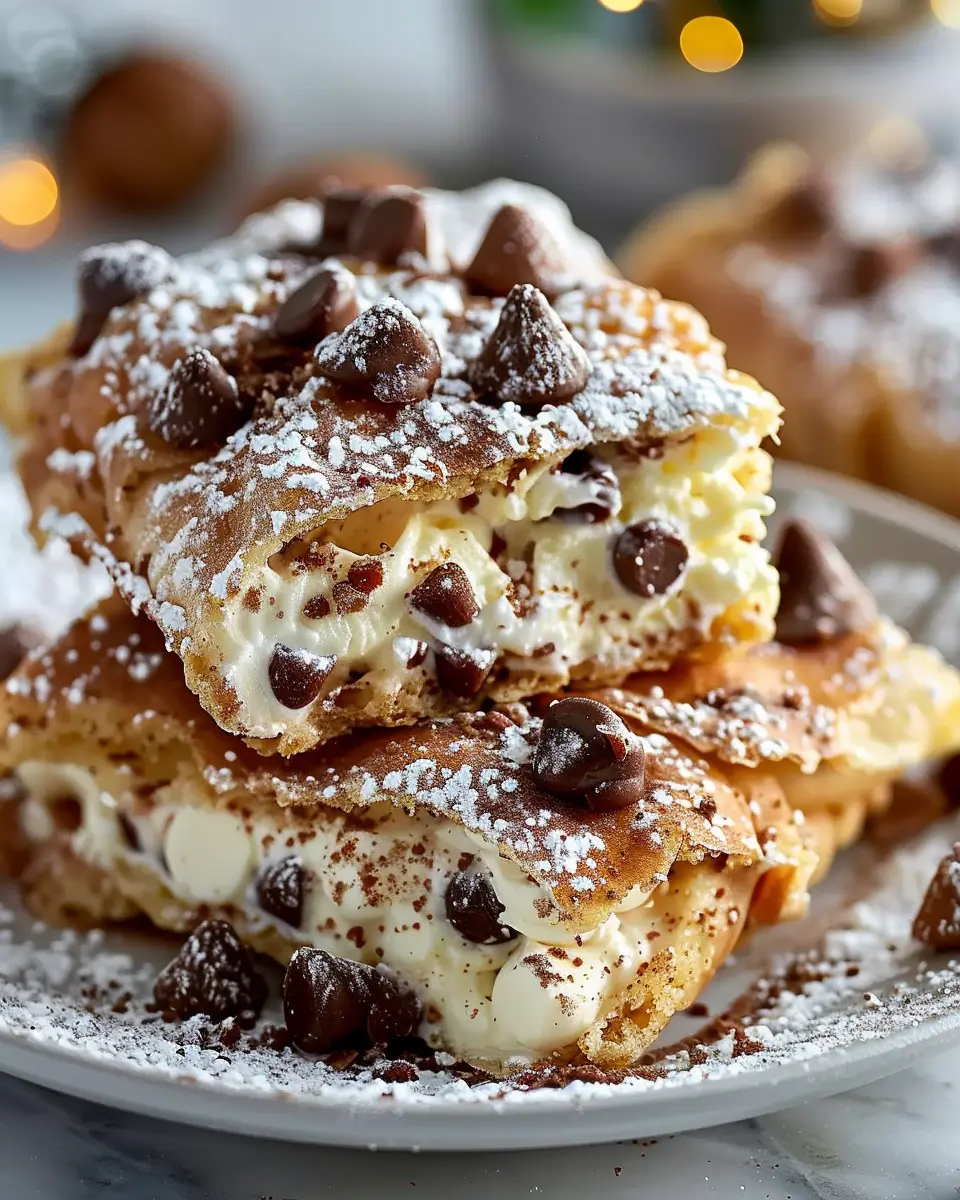
Introduction to Classic Cannoli Squares
A quick history of cannoli and their variations
Ah, cannoli! This delectable Italian pastry has roots that trace back to Sicily, where it was originally served during special occasions like Carnevale. Traditionally, a cannolo consists of a crispy, fried shell filled with a sweet, creamy ricotta filling. Over the years, variations have popped up, reflecting regional tastes and chef innovations. Some modern takes include flavor-infused fillings like chocolate, pistachio, or even seasonal fruits, catering to diverse palates. For more on the fascinating history of cannoli, you might check out National Geographic’s feature on Italian cuisine.
Why classic cannoli squares are a game changer for young professionals
Now, why should you, a busy young professional, care about classic cannoli squares? Picture this: a dessert that encapsulates all the flavors of traditional cannoli but in a square form that’s effortless to serve. No need to fiddle with frying shells or piping bags—these squares can be made in your own kitchen and are perfect for sharing with friends after a long week.
Here’s what makes classic cannoli squares a must-try:
- Time-Saving: With simplified preparation, you can whip up a batch in under an hour. Ideal for those impromptu gatherings!
- Easily Shareable: The square shape makes portioning a breeze. No one has to wrestle for that last piece!
- Flavor Packed: You still get all the heavenly flavors of classic cannoli—the creamy filling, the chocolate chips, and that delightful citrus hint—without the fuss.
Think about the last time you had a dessert that sparked joy among your friends. Classic cannoli squares can be that show-stopper—perfect for enhancing your weekend hangouts or impressing colleagues during office celebrations.
In a world where time is of the essence, finding recipes that balance taste and efficiency is essential. Next time you feel the urge for a sweet treat, give these squares a shot. Your friends—and your taste buds—will thank you!
Ingredients for Classic Cannoli Squares
When you’re ready to whip up some classic cannoli squares, having the right ingredients is key to achieving that delightful balance of flavor and texture. Here’s a handy breakdown to guide you through the process!
For the Cannoli Filling
- Ricotta cheese: 2 cups, drained
- Powdered sugar: 3/4 cup, sifted
- Vanilla extract: 1 teaspoon
- Mini chocolate chips: 1/2 cup
- Cinnamon (optional): 1/4 teaspoon for a subtle spice
These ingredients will create a creamy, sweet filling that’s bursting with traditional cannoli flavor. For more tips on using ricotta, check out this culinary guide on cheese.
For the Cannoli Crust
- All-purpose flour: 1 ½ cups
- Granulated sugar: 1/4 cup
- Cocoa powder: 2 tablespoons (for a twist!)
- Salt: 1/4 teaspoon
- Butter: 1/2 cup, cold and cubed
- Water: 2-4 tablespoons, as needed
A rich crust is essential for holding all that delicious filling.
Optional Garnishes
- Chopped pistachios: for a crunchy topping
- Dusting of powdered sugar: to make it look extra special
- Fresh berries: to add a burst of color and freshness
With these ingredients in hand, you’re all set to create your own classic cannoli squares. Trust me, they’ll be a hit! Want tips on presentation? You can find some beautiful plating ideas here.
Preparing Classic Cannoli Squares
Making classic cannoli squares at home is a rewarding experience that satisfies those sweet cravings while allowing you to unleash your inner pastry chef. This delightful dessert combines the rich flavors of cannoli with an easier-to-manage square format. Let’s dive right into the preparation!
Step 1: Prepare the Cannoli Filling
The filling is where the magic happens. For the best results, you’ll want to use high-quality ricotta cheese. Look for whole milk or part-skim ricotta as they offer the perfect creamy texture. Here’s what you’ll need:
- 15 ounces of ricotta cheese
- 1 cup powdered sugar
- 1 teaspoon vanilla extract
- 1/2 teaspoon ground cinnamon
- Mini chocolate chips (optional, but highly recommended)
In a bowl, combine the ricotta, powdered sugar, vanilla, and cinnamon. Mix until creamy and smooth. If you want to add a little extra texture and flavor, fold in those delightful mini chocolate chips. This filling can be prepped in advance—just cover it and refrigerate until you’re ready to use it.
Step 2: Preheat the Oven
While the filling is chilling, it’s time to prepare for baking. Preheat your oven to 375°F (190°C). This step is crucial, as it ensures your classic cannoli squares rise perfectly and develop that heavenly golden crust. Making sure your oven reaches the right temperature beforehand will reward you with better baking results.
Step 3: Roll Out the Pie Crust
Next, we will work on the crust. For convenience, store-bought pie crust works wonders, but if you’re feeling adventurous, you can definitely make your own! Here’s how to roll out the pie crust:
- Lightly flour your surface to prevent sticking.
- Unwrap the pie crust (per instructions) and roll it out to fit your baking dish.
- Since you want a bottom and top crust, roll out two pieces—one for the base and one for the top.
Always keep an eye out for any cracks; you can easily patch them up with some leftover dough!
Step 4: Add the Cannoli Filling
Once your pie crust is rolled out, fit one layer into a greased baking dish. Pour the prepared cannoli filling into this crust, distributing it evenly with a spatula. Take a moment to appreciate the deliciousness you’re about to enjoy—this is going to be so good!
Step 5: Prepare the Top Crust
Now it’s time for that second layer of pastry goodness. Roll out another piece of dough, this time making sure to cut slits or use a fork to poke holes to allow steam to escape. Then, gently lay it over the filling, sealing the edges. You can crimp the edges for that beautiful homemade touch.
Step 6: Bake the Classic Cannoli Squares
You’re now ready to bake! Place the dish into your preheated oven and let them bake for about 30-35 minutes, or until the top gets that irresistible golden brown color. The aroma that fills your kitchen will make your mouth water!
Step 7: Cool and Serve
Once baked, take your classic cannoli squares out of the oven and allow them to cool on a wire rack. Patience is key here; letting them cool allows the filling to set up beautifully. Once cool, slice into squares, dust with a bit of powdered sugar, and serve. You can even garnish with chopped nuts for a fancy touch if you’re feeling particularly gourmet.
There you have it—your homemade classic cannoli squares! With each bite, you’ll taste the love and effort you put into creating this delightful dessert, making it a perfect addition to any gathering or a sweet solo treat. Happy baking!
Variations on Classic Cannoli Squares
When it comes to classic cannoli squares, the sky’s the limit! These delectable treats are not just for traditionalists; they can be customized in countless ways to suit your taste buds. Let’s explore a couple of irresistible variations that can bring a unique twist to this beloved dessert.
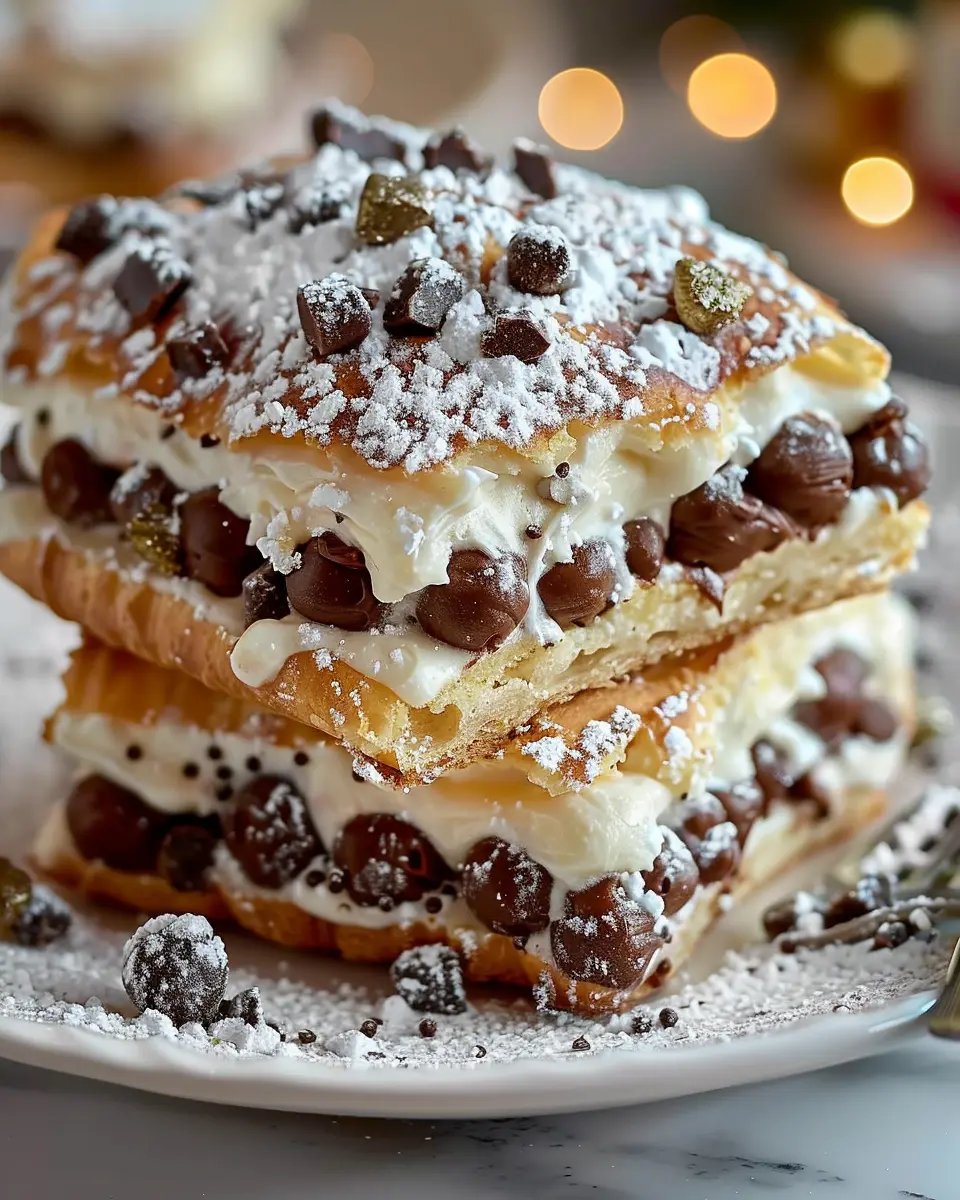
Chocolate Chip Cannoli Squares
Who can resist the rich combination of chocolate and cannoli filling? To create chocolate chip cannoli squares, simply fold mini chocolate chips into your classic filling. Depending on your low-fat goals, adjusting the cheese mix can give a lighter flavor while still keeping that authentic taste.
- Ingredients:
- 1 cup mini chocolate chips
- Classic cannoli filling (ricotta, powdered sugar, and mascarpone)
Add the chocolate chips to the filling right before spreading it on the baked crust. This little addition elevates the dessert to a whole new level, making it a favorite at gatherings and a sweet treat after a long day.
Fruit-Filled Cannoli Squares
For a refreshing twist, why not try fruit-filled cannoli squares? You can use fresh strawberries, raspberries, or even citrus zest for a burst of flavor. This variation is perfect for summer parties or when you want something light and fruity.
- Ingredients:
- 1 cup diced strawberries or other berries
- Zest of one lemon or orange
To make these, simply incorporate your chosen fruit into the classic filling, and layer it in between the squares. The result? A delightful dessert that bursts with flavor and freshness.
Experimenting with your variations on classic cannoli squares is not just fun; it’s an opportunity to impress your friends and family with your creativity in the kitchen. Ready to taste the magic? Dive into these variations and let your sweet adventures begin! Check out more cannoli-inspired recipes on sites like Food Network for additional ideas.
Cooking tips and notes for Classic Cannoli Squares
The importance of ricotta cheese quality
When it comes to making classic cannoli squares, the quality of your ricotta cheese can make all the difference. Opt for whole milk ricotta from a trusted brand or even a local dairy. Higher-quality ricotta not only enhances flavor but also gives the filling that creamy consistency everyone loves. If possible, strain your ricotta through cheesecloth to eliminate excess moisture—this step ensures that your filling stays perfectly rich and doesn’t turn watery during baking.
Tips for a perfect crust
Achieving the ideal crust for your classic cannoli squares is essential to balance the creamy filling. Here are some handy tips:
- Chill the dough: Allow your dough to rest in the refrigerator for at least 30 minutes. Chilling helps to relax the gluten, resulting in a tender crust.
- Don’t skip the blind baking: Pre-bake your crust until it’s golden brown. This helps create a barrier against the filling’s moisture, keeping your squares crisp.
- Use parchment paper: Lining your baking dish with parchment paper ensures your squares come out smoothly and makes cleanup a breeze.
For more expert tips on baking, check out Serious Eats. Happy cooking!
Serving Suggestions for Classic Cannoli Squares
Pairing with Coffee or Tea
When it comes to enjoying your classic cannoli squares, there’s nothing quite like pairing them with a steaming cup of coffee or tea. The rich flavors of the cannoli filling beautifully contrast a bitter espresso, creating a delightful balance. Alternatively, a soothing herbal tea can complement the sweetness in a more gentle way. For a unique twist, try a chai latte; its warm spices enhance the cannoli’s creaminess perfectly.
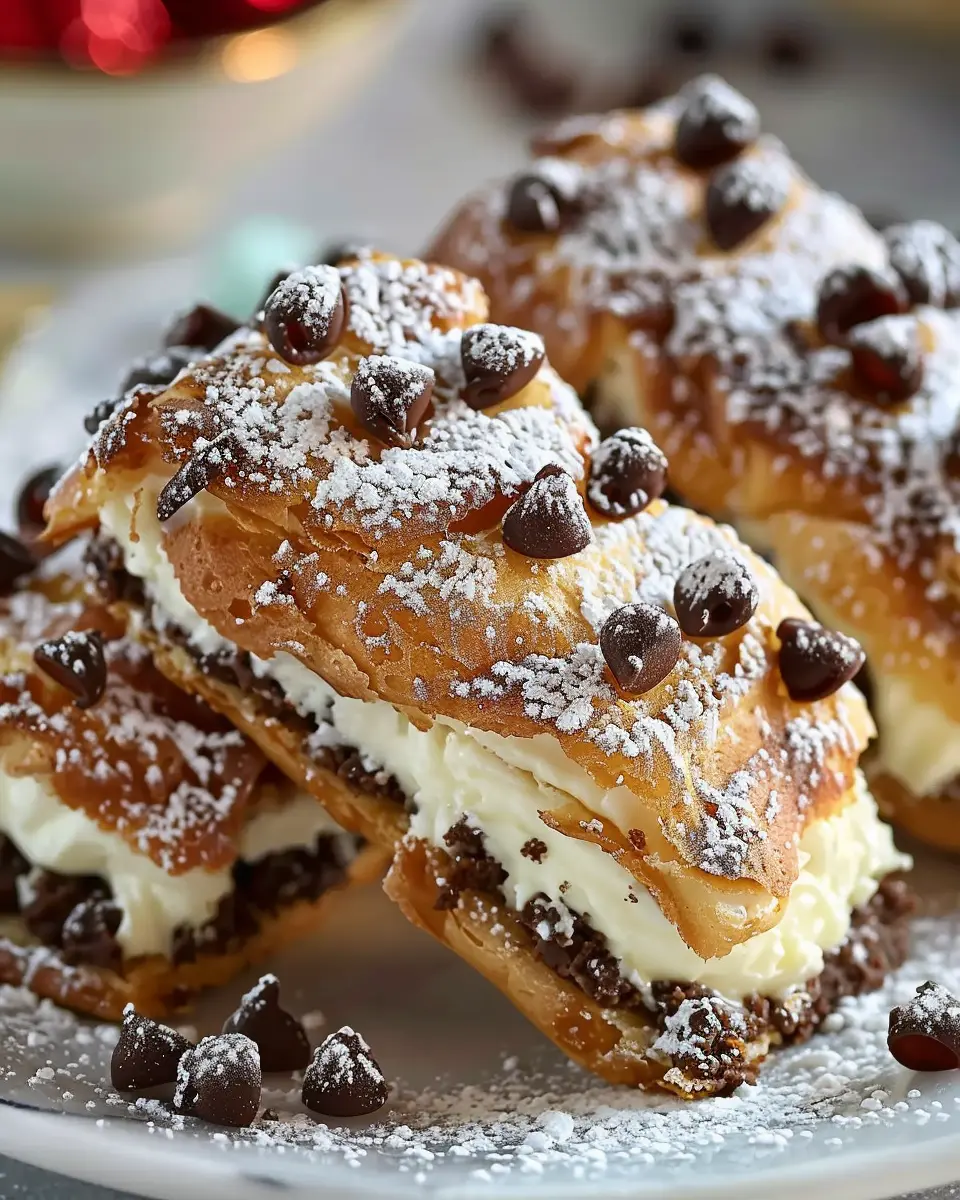
Decorative Serving Ideas
Presentation can elevate your dessert experience. Serve your classic cannoli squares on a vibrant platter or tiered stand for a touch of elegance at your next gathering. Dusting them lightly with powdered sugar adds a beautiful finish. Consider adding a side of chocolate or berry sauce for dipping—it’s both eye-catching and delicious! Fresh mint leaves or edible flowers can also elevate the visual appeal, making your dessert table irresistibly inviting.
For more creative serving ideas, check out this blog on dessert presentations. Remember, the more inviting you make it, the harder it will be for your guests to resist!
Time breakdown for Classic Cannoli Squares
Preparation time
Getting started on your classic cannoli squares is half the fun! You’ll want to set aside about 25 minutes for preparation. This includes mixing your ricotta and mascarpone, layering in those delightful chocolate chips, and assembling your base. If you’ve got a little experience in the kitchen, you’ll find this step is quite straightforward.
Cooking time
After all the mixing and layering, it’s time for the oven to do its magic! The baking process takes around 35 to 40 minutes. As the squares bake, your kitchen will be filled with a heavenly aroma that will have everyone eagerly waiting to dig in.
Total time
All in all, you’re looking at about an hour and 5-10 minutes from start to finish. With a bit of patience and enthusiasm, you’ll present a stunning dessert that’s rich in flavor and texture. So, whether it’s a family gathering or a cozy night in, these classic cannoli squares will always impress.
If you want to learn more about baking techniques, check out resources from The Kitchn or Serious Eats.
Nutritional facts for Classic Cannoli Squares
Understanding the nutritional profile of classic cannoli squares can help you enjoy this delectable treat responsibly. Let’s break down the key components.
Calories
Each serving of classic cannoli squares typically contains around 250 calories. While they are a delightful dessert, it’s wise to keep portion sizes in check. If you’re looking to indulge without going overboard, consider savoring just one square paired with a cup of tea or coffee.
Sugars
One of the standout features of classic cannoli squares is their sweetness. On average, a single serving can contain about 20 grams of sugar. While sugar adds that rich taste, be mindful if you’re watching your intake. For healthier alternatives, explore less sugary fillings or use natural sweeteners.
Protein
Don’t let the indulgence fool you! These squares do offer about 4 grams of protein per serving, thanks mainly to the ricotta cheese. Incorporating protein-rich ingredients can add to the overall satisfaction and make it an easier treat to incorporate into a balanced diet. For more insights, check out the USDA FoodData Central or similar databases for comprehensive nutritional information.
Embracing indulgence doesn’t mean sacrificing your health goals. With a little awareness, classic cannoli squares can fit snugly into your dessert repertoire!
FAQs about Classic Cannoli Squares
Can I make the filling a day ahead?
Absolutely! In fact, making the classic cannoli squares filling a day ahead can enhance the flavors. It allows the ricotta and mascarpone to meld beautifully with the sugar and vanilla, resulting in a richer taste. Just be sure to store it in an airtight container in the refrigerator, and give it a good stir before using it the next day.
How do I store leftover cannoli squares?
Leftover classic cannoli squares should be stored in the refrigerator to keep them fresh. Place them in an airtight container, separating layers with parchment paper to avoid sticking. They should last about 3-4 days. However, keep in mind that the pastry may soften over time, so they are best enjoyed within the first couple of days after baking.
Can I freeze cannoli squares?
Yes, you can! Freezing classic cannoli squares is a great option if you want to enjoy them later. Wrap each square tightly in plastic wrap and then place them in a zip-top freezer bag or airtight container. They can be frozen for up to three months. When you’re ready to enjoy them, simply thaw in the refrigerator overnight, then bring them to room temperature before serving for the best taste.
If you have more questions about cannoli squares or are looking for other delightful dessert recipes, consider checking resources like Food Network or Bon Appétit for inspiration. Happy baking!
Conclusion on Classic Cannoli Squares
Making classic cannoli squares at home is a delightful culinary adventure that will impress your friends and family. The creamy, rich filling combined with the satisfying crunch of pastry creates a dessert that’s simply unforgettable. Don’t hesitate to try this recipe—you’ll find that it not only enhances your baking skills but also brings joy to those you share it with.
I’d love to hear about your experiences! If you try making these delightful squares, please share your thoughts and any variations you made. Join the conversation in the comments or on social media, and let’s savor the sweetness together!
PrintClassic Cannoli Squares: Easy Recipe for Homemade Indulgence

Indulge in the delightful flavors of classic cannoli with these easy-to-make cannoli squares, perfect for satisfying your sweet tooth.
- Prep Time: 20 minutes
- Cook Time: 0 minutes
- Total Time: 4 hours 20 minutes
- Yield: 8 servings 1x
- Category: Dessert
- Method: No-Bake
- Cuisine: Italian
- Diet: Vegetarian
Ingredients
- 1 cup ricotta cheese
- 1/2 cup powdered sugar
- 1 teaspoon vanilla extract
- 1 cup heavy cream
- 1/2 cup mini chocolate chips
- 1 package graham crackers
- 1/4 cup chopped pistachios for garnish
Instructions
- In a mixing bowl, combine ricotta cheese, powdered sugar, and vanilla extract until smooth.
- In another bowl, whip heavy cream until stiff peaks form, then gently fold into the ricotta mixture.
- Stir in mini chocolate chips.
- Layer graham crackers in a dish, then spread half of the cannoli mixture over the top.
- Add another layer of graham crackers and top with the remaining cannoli mixture.
- Refrigerate for at least 4 hours or overnight.
- Before serving, garnish with chopped pistachios.
Notes
- For a richer flavor, use whole milk ricotta.
- Experiment with different types of chocolate chips like dark or white chocolate.
Nutrition
- Serving Size: 1 square
- Calories: 250
- Sugar: 15g
- Sodium: 150mg
- Fat: 18g
- Saturated Fat: 10g
- Unsaturated Fat: 5g
- Trans Fat: 0g
- Carbohydrates: 22g
- Fiber: 1g
- Protein: 4g
- Cholesterol: 40mg
Keywords: Classic Cannoli Squares


