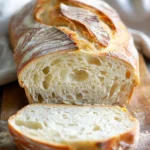
Introduction to Homemade Bread
Why Homemade Bread?
In a world filled with fast food and convenience grocery options, it’s easy to overlook the simple joy of making homemade bread. The act of baking your own bread is more than just a culinary task; it’s like creating a comforting hug for your home. Imagine stepping into your kitchen and being greeted by the warm, inviting aroma of fresh bread. That rich scent not only fills the air but also touches the heart.
According to a recent survey, nearly 55% of young adults express interest in baking at home, with many citing “therapeutic relief” as a significant motivator. This interest has led to a surge of online communities sharing tips, recipes, and experiences—making baking more accessible than ever. Whether you’re a novice or an experienced cook, the beauty of homemade bread lies in the satisfaction of crafting something with your own hands. It’s a wonderful way to unplug from our tech-driven lives and connect with something quintessentially human.
The Joy of Baking
Creating bread from scratch can seem intimidating, but it’s easier than you might think! With just a handful of ingredients like flour, yeast, water, and salt, you can whip up a batch that rivals your favorite bakery. And let’s be real—who doesn’t love the feeling of kneading dough? It offers a sort of mindfulness that can be refreshing after a long day.
Along the way, you might discover the science behind bread-making, like how yeast works and how gluten develops. With time and practice, you’ll become more comfortable adjusting recipes to fit your style. Think of adding herbs for aroma or oats for a hearty texture. Not only will it yield delicious results, but you’ll also learn valuable kitchen skills.
Incorporating homemade bread into your routine can be rewarding in numerous ways—it’s healthier, tastier, and connects you with a longstanding tradition. So, whether you’re looking to impress at dinner parties or just want an everyday staple, rolling up your sleeves and baking some bread could bring an unexpected joy to your life.
For more insights on baking, check out resources like King Arthur Baking or BBC Good Food for comprehensive guides and tips!
Essential Ingredients for Homemade Bread
When it comes to crafting the perfect homemade bread, it all starts with a few essential ingredients from your pantry. Here’s what you need to get you on the right track:
The Basics: Pantry Staples You Need
- Flour: All-purpose flour is a great choice, but bread flour gives you that chewy texture that’s hard to resist.
- Water: Warm water (about 110°F) helps activate the yeast. Avoid hot water, as it can kill the yeast.
- Yeast: Active dry or instant yeast works well. Yeast is the magic that helps your bread rise!
- Salt: This isn’t just for flavor; it strengthens the dough and helps control fermentation.
These ingredients create the backbone of your homemade bread, so it’s essential to choose quality products. For more on finding the best flours, check out King Arthur Baking.
Optional Add-ins and Variations
Once you’ve mastered the basic recipe, get creative with add-ins! Consider:
- Nuts and Seeds: Sunflower seeds or walnuts add texture.
- Herbs: Fresh or dried herbs can elevate the flavor profile.
- Cheese: A bit of shredded cheese can add richness.
- Sugars or Sweeteners: Honey or brown sugar can enhance the crust and flavor.
Don’t hesitate to experiment! Different combinations can give your homemade bread a unique twist. Remember, the joy of baking lies in personalizing it to suit your taste!
Step-by-Step Preparation of Homemade Bread
There’s nothing more comforting than the smell of homemade bread baking in your kitchen. It has a way of bringing people together, whether it’s for breakfast, lunch, or dinner. So, let’s dive into the step-by-step preparation that will transform simple ingredients into warm, delicious loaves.
Proofing the Yeast
To begin your bread-making journey, you first need to activate your yeast. This simple process, known as proofing, ensures you’re working with active yeast that will help your dough rise beautifully.
- Ingredients Needed:
- 1 packet (2 1/4 teaspoons) of active dry yeast
- 1 teaspoon sugar
- 1/4 cup warm water (about 110°F or 43°C)
Instructions:
Add the yeast and sugar to the warm water, stirring gently to combine. Let this mixture sit for about 5-10 minutes until it becomes frothy. If you don’t see this froth, your yeast may be expired, and it’s time to start over!
Mixing the Ingredients
Once your yeast is ready, it’s time to combine it with the other ingredients. This is where you start to see the potential of your homemade bread unfold.
- Ingredients Needed:
- 2 cups all-purpose flour (or bread flour)
- 1 teaspoon salt
- 1 tablespoon olive oil (or melted butter)
- Additional flour for kneading
Instructions:
In a large mixing bowl, combine the flour and salt. Make a well in the center and add in the proofed yeast mixture and olive oil. Mix until it comes together to form a sticky dough. You can use a spoon or your hands here—both work!
Kneading the Dough
Kneading is a crucial step to develop gluten, which gives your bread its structure.
- Tips for Kneading:
- Dust your countertop with flour to prevent sticking.
- Knead for about 8-10 minutes, folding and pressing the dough until smooth and elastic.
Pro Tip: If you have a stand mixer with a dough hook, you can simply let it do the work for you for about 5-7 minutes.
The First Rise: What to Expect
After kneading, it’s time for the dough to rise, which usually takes about 1 to 1.5 hours.
- How to Create the Perfect Environment:
- Place your dough in a lightly greased bowl and cover it with a damp cloth or plastic wrap.
- Find a warm spot in your kitchen, such as near the oven or a sunny window.
During this time, you should see the dough double in size. It’s a delightful process to watch, and it’s now a living entity!
Shaping and the Second Rise
Once your dough has risen, it’s time to shape it into your desired loaf form and let it proof again.
Instructions:
-
Punch down the risen dough to release excess air.
-
Shape it into a rectangle or ball, depending on your preference, and place it in a greased loaf pan or on a baking sheet.
-
The Second Rise:
Cover it again and let it rise for an additional 30-45 minutes until it’s puffed up nicely.
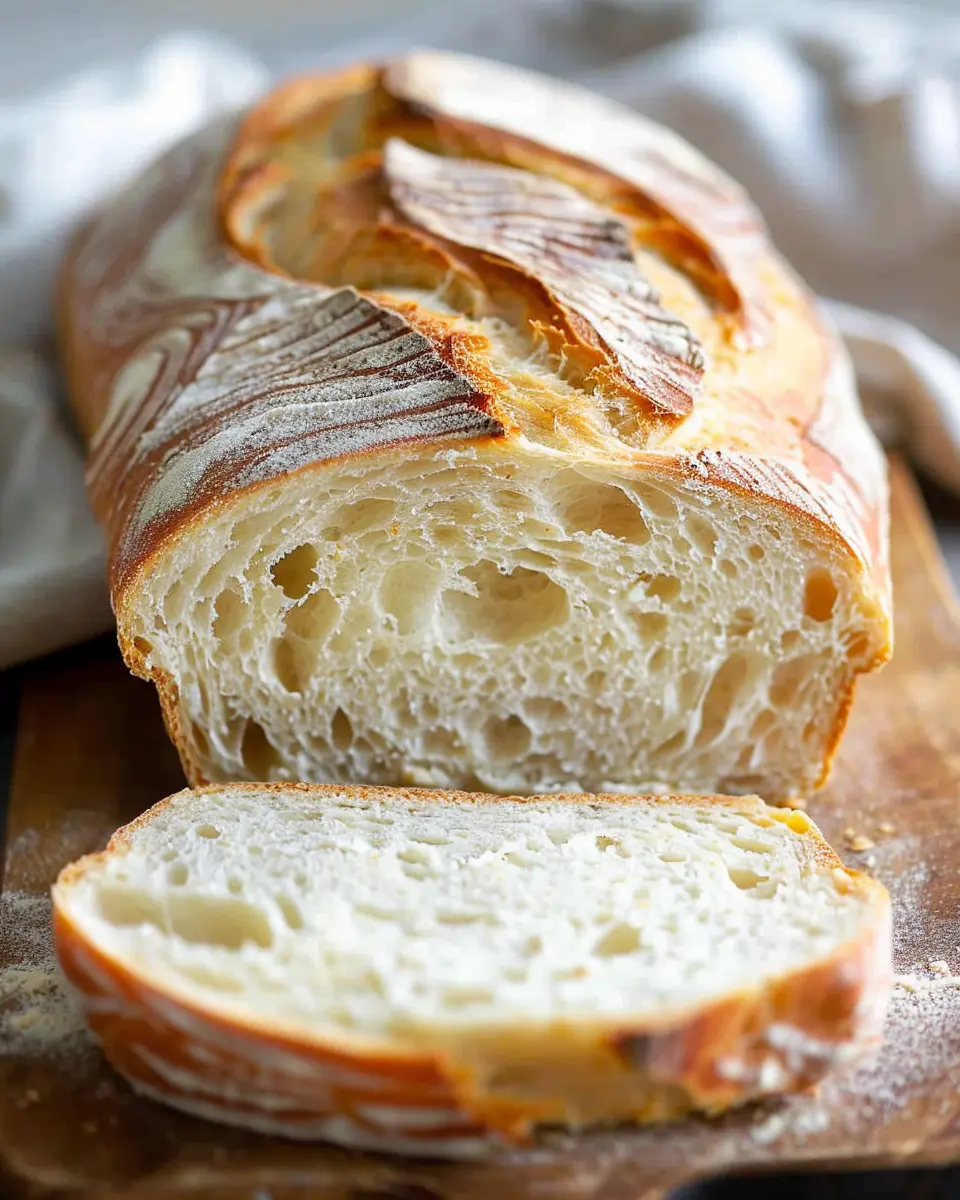
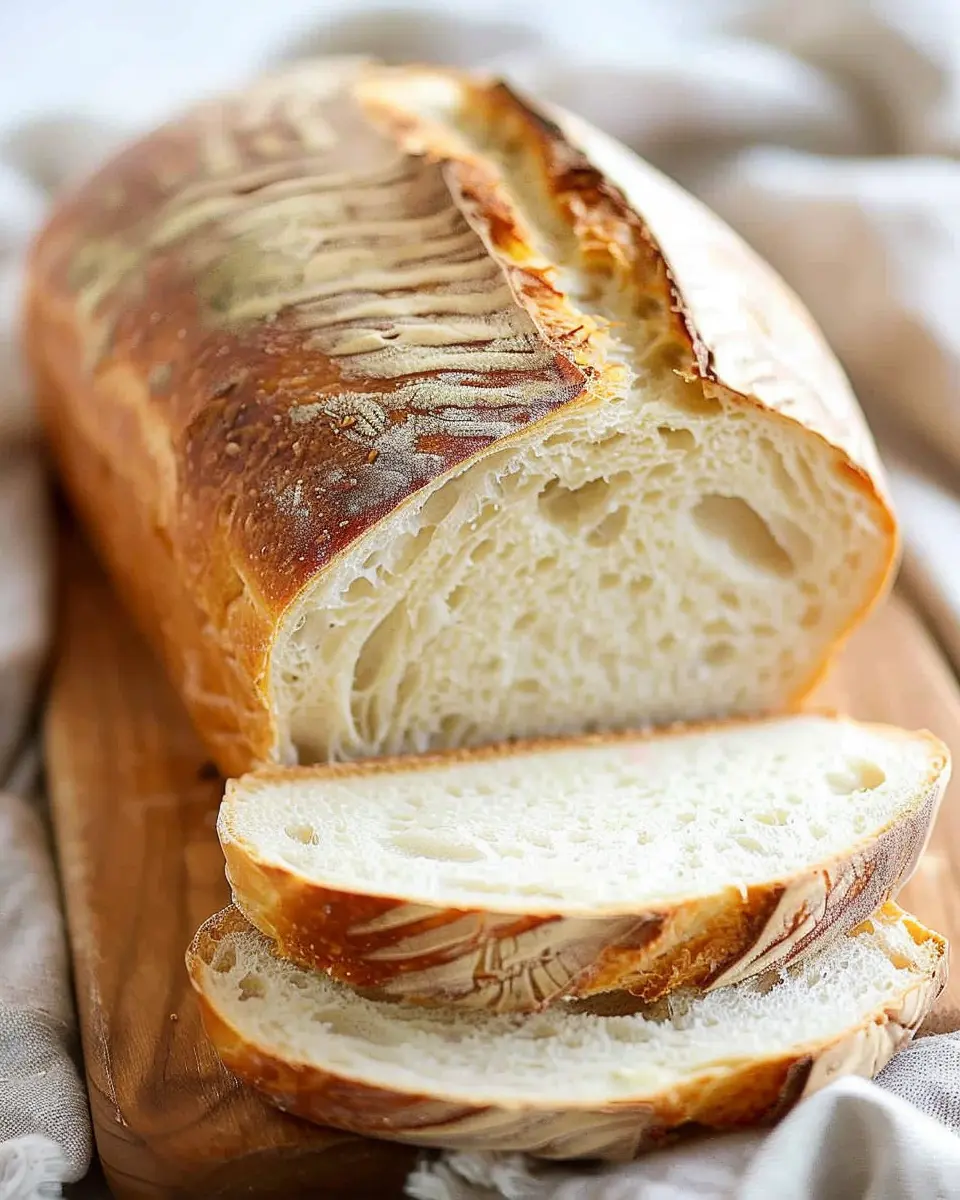
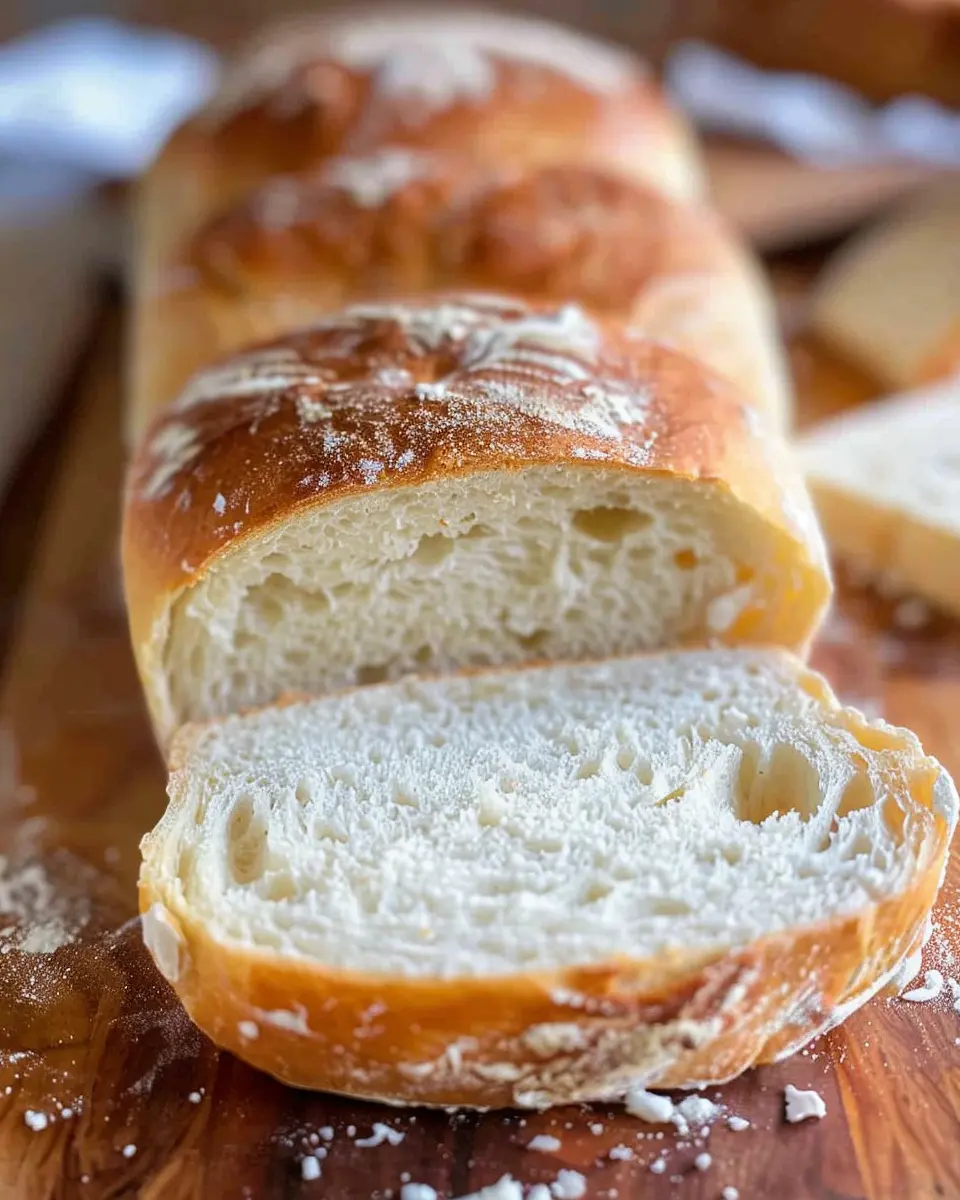
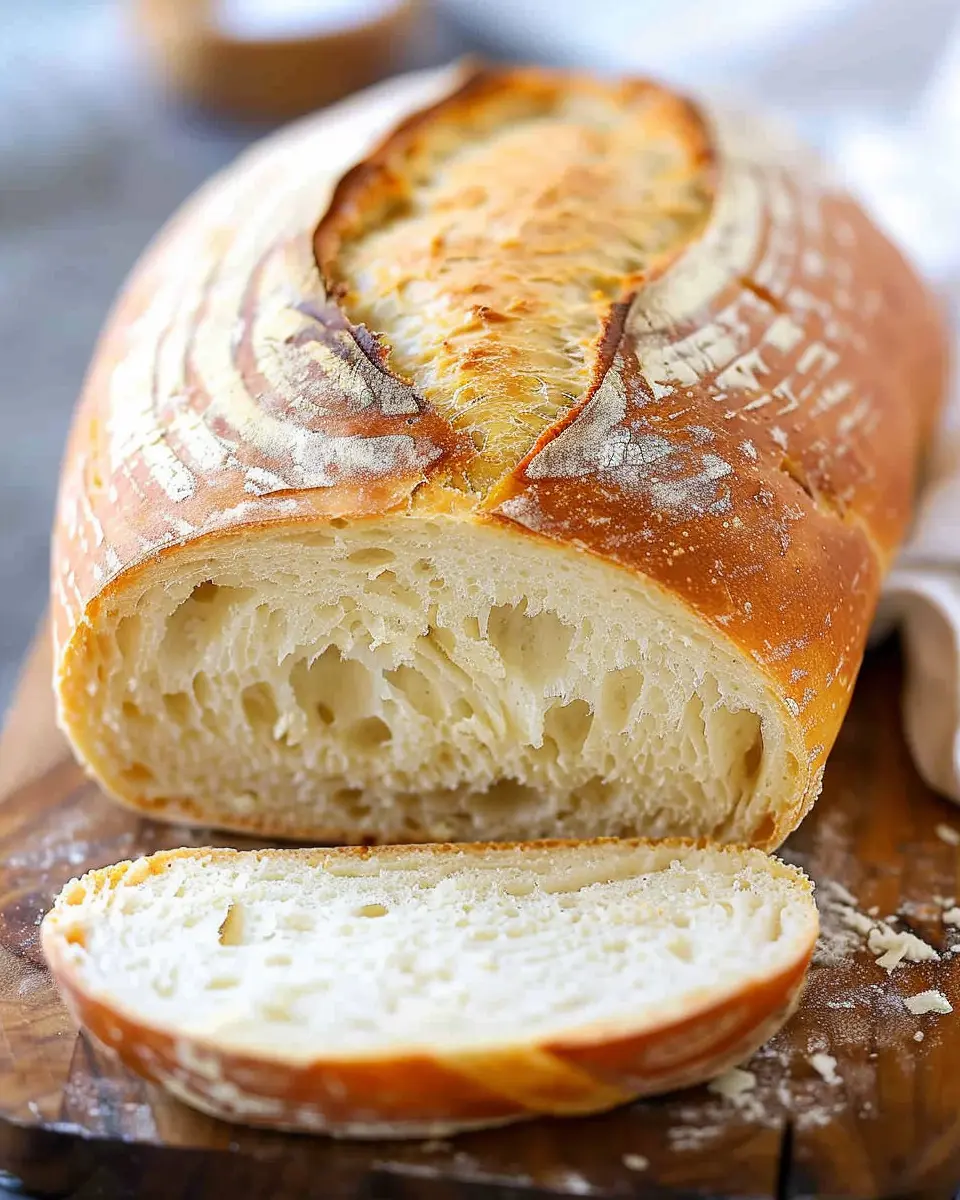
Baking Your Loaves to Perfection
Finally, it’s showtime! Preheat your oven to 375°F (190°C) while your dough is on its second rise.
- Baking Instructions:
Bake the loaves for 25-30 minutes until golden brown and hollow-sounding when tapped on the bottom.
Once done, let them cool on a wire rack before slicing. The texture and flavor of your homemade bread will be well worth the wait!
With a little patience and practice, you’ll master the art of homemade bread. It’s a rewarding experience that fills your kitchen and heart with love. Don’t forget to explore some amazing variations like adding herbs or cheese for a twist! For more great recipes and tips on baking, check out King Arthur Baking for expert guidance.
Variations on Homemade Bread
Creating your own homemade bread doesn’t have to be a one-size-fits-all approach. With a few tweaks, you can easily personalize your loaf to match your preferences or dietary needs.
Whole Wheat Bread: A Healthier Option
Opting for whole wheat bread is a fantastic way to boost your fiber intake. Whole wheat flour retains the bran and germ from the grain, making it more nutritious than refined flour. This variation is not only heartier but also has a slightly nutty flavor. To make your own, simply replace half or all of the all-purpose flour in your recipe with whole wheat flour. Keep in mind that you might need to adjust the water content, as whole wheat absorbs more moisture.
A great tip is to add a tablespoon of honey or maple syrup to enhance sweetness, balancing out the nutty taste. For more detailed nutritional info and the health benefits of whole grains, check out resources like the Whole Grains Council.
Herb-Infused Bread: Adding Flavor
If you’re looking to elevate the flavors of your homemade bread, consider infusing it with fresh or dried herbs. Add a tablespoon of chopped rosemary, thyme, or oregano to your dough for a fragrant finish. This simple change can transform your bread from basic to gourmet.
Another delightful option is to mix in garlic powder or sun-dried tomatoes for that extra punch. Imagine serving slices of herb-infused bread alongside a bowl of olive oil or a hearty soup! It’s perfect for dinner parties or comforting weeknight meals. If you’re interested in exploring creative bread toppings or spreads, you might find inspiration on sites like The Kitchn.
These variations make your homemade bread not just a staple but a delightful centerpiece at your table. What flavor combinations will you try?
Cooking Tips and Notes for Perfect Homemade Bread
Common Mistakes to Avoid
Making homemade bread is rewarding, but common pitfalls can derail your efforts. Here are a few to keep in mind:
- Incorrect Yeast Activation: Make sure your water isn’t too hot or cold. Ideally, it should be around 110°F (43°C). This ensures your yeast activates properly.
- Over-Kneading: While dough needs some love through kneading, overdoing it can lead to tough bread. Aim for a smooth, elastic texture.
- Inaccurate Measurements: Baking is a science! Use a kitchen scale for precision if you can.
Understanding these mistakes can save you from a loaf that doesn’t rise or has a dense texture.
Storage Tips for Freshness
Once you’ve baked your savory homemade bread, proper storage is crucial for maintaining that delightful freshness.
- Cool Completely: Always let your bread cool completely before slicing; this helps retain moisture.
- Use a Bread Box: A bread box or cloth bag allows the bread to breathe while keeping it soft.
- Freeze for Longer Life: If you won’t finish it within a few days, slice and freeze your bread. Thaw slices as needed for perfect fresh taste.
For more detailed storage advice, check out resources from the Bread Bakers Guild of America. Enjoy the delightful journey of baking!
Serving Suggestions for Delicious Homemade Bread
Perfect Pairings for Sandwiches
When it comes to homemade bread, the sandwich possibilities are endless! Start your lunch off right by pairing your fresh loaf with high-quality ingredients. Think creamy avocado and turkey bacon for a satisfying crunch, or go lighter with thinly sliced chicken ham and a sprinkle of arugula. Don’t forget to spread a layer of zesty mayo or a light mustard to add extra flavor.
For a unique twist, try a Mediterranean-inspired filling with hummus, roasted veggies, and feta cheese. It’s a great way to impress your friends and is perfect for al fresco dining during warmer months!
Creative Ways to Serve Fresh Bread
Fresh out of the oven, homemade bread can be more than just a side for soup. Consider these fun ideas:
- Bread Bowls: Hollow out your bread to create bowls for tasty dips like spinach-artichoke or creamy soups.
- Bruschetta: Top slices with tomatoes, basil, and a drizzle of olive oil for a vibrant appetizer.
- French Toast: Use your bread to whip up a sweet, indulgent breakfast topped with fresh fruit and syrup.
Explore more ideas about enhancing your homemade bread experience by checking out Serious Eats or BBC Good Food. Your fresh bread can truly shine with the right pairings!
Time Breakdown for Baking Homemade Bread
When it comes to creating the perfect homemade bread, understanding the timing involved can make all the difference. Here’s a quick breakdown of each step to help you plan your baking adventure!
Preparation Time
You’ll need about 15–20 minutes to gather your ingredients and mix them together. It’s a straightforward process, and it can even be fun to get your hands in some dough! Don’t rush; take time to enjoy the process.
Rising Time
Here’s where the magic happens! Your dough will need roughly 1 to 2 hours to rise. This allows it to develop flavor and texture. Cover it and let it rest in a warm spot. Grab a good book or chat with friends during this cozy waiting period.
Baking Time
Finally, baking the bread will take about 25–30 minutes in a preheated oven. You’ll know it’s ready when the crust turns golden brown and it sounds hollow when tapped. The delightful aroma that fills your kitchen is the perfect reward for your efforts!
For a deeper dive into homemade bread techniques, check out resources like King Arthur Baking, which offers tips and tricks for every baking enthusiast!
Nutritional Facts of Homemade Bread
Calories and Macronutrients
When it comes to homemade bread, understanding its nutritional profile can empower your culinary choices. A typical slice contains around 80-100 calories, depending on the ingredients used. It’s a source of essential macronutrients, providing:
- Carbohydrates: Around 15-20 grams, ideal for energy.
- Protein: Approximately 3-4 grams, crucial for muscle repair.
- Fat: Usually around 1-2 grams, mainly from any added seeds or oils.
For more precise information, check the USDA FoodData Central.
Dietary Considerations
Homemade bread can cater to various dietary needs! If you’re gluten-sensitive, alternatives like almond or spelt flour work well. Want to up your fiber intake? Incorporate whole grain flour or seeds. Plus, you can easily control sodium levels, making it heart-friendly.
With homemade bread, you’re not just creating a delicious side, but also a nourishing one that aligns with your health goals. Wouldn’t it be great to enjoy fresh bread while knowing exactly what’s in it?
FAQs about Homemade Bread
What if my bread doesn’t rise?
If your homemade bread doesn’t rise, don’t despair! This can happen for a variety of reasons:
- Yeast issues: Make sure you’re using fresh yeast. Expired yeast won’t activate. You can test it by mixing it with warm water and a bit of sugar — it should foam within 5-10 minutes.
- Temperature: Yeast thrives in a warm, draft-free environment. If your kitchen is too cool, try placing the dough in a slightly warmed oven (turn it off after 5 minutes) for a cozy rising spot.
- Kneading: Proper kneading develops gluten, which helps the dough trap air. If you don’t knead enough, your bread may lack structure.
For more bread troubleshooting tips, check out King Arthur Baking.
Can I use whole wheat flour instead of all-purpose?
Absolutely! While replacing all-purpose flour with whole wheat flour is possible, keep a couple of things in mind:
- Hydration: Whole wheat flour absorbs more liquid. You might need to increase the water in your recipe by about 10-15% for the best texture.
- Flavor: Whole wheat flour lends a nuttier taste and a denser crumb, which can be delightful!
If you’re looking for a lighter texture, consider combining the two. This can give you the nutritional benefits of whole wheat without sacrificing fluffiness.
How do I know when my bread is done baking?
Telling when your homemade bread is perfectly baked is simpler than it sounds! Look for these signs:
- Color: The crust should be a deep golden brown.
- Sound: Tap the bottom of the loaf; it should sound hollow if it’s cooked through.
- Temperature: If you have a kitchen thermometer, bread is usually done when it reaches around 190°F (88°C) in the center.
Taking the time to check these elements will reward you with a delicious loaf that’s sure to impress family and friends! Enjoy your baking adventure!
Conclusion on the Bliss of Homemade Bread
In closing, there’s something truly magical about homemade bread. The aroma that fills your kitchen while it bakes is a comfort like no other. Not only does it elevate your sandwiches—think turkey bacon and chicken ham!—but it also brings friends and family together. Making bread from scratch can be a relaxing hobby, and you’ll find satisfaction in every crusty loaf you create. Have you ever tried adding herbs or spices for an extra kick? Remember, the beauty is in the experimentation. So don’t hesitate to try your variations! For more tips, check out King Arthur Baking. Happy baking!
PrintHomemade Bread: The Best Recipe for Fresh, Fluffy Loaves
Learn how to bake homemade bread that is soft, fluffy, and deliciously fresh.
- Prep Time: 15 minutes
- Cook Time: 30 minutes
- Total Time: 1 hour 15 minutes
- Yield: 1 loaf 1x
- Category: Breads
- Method: Baking
- Cuisine: American
- Diet: Vegetarian
Ingredients
- 3 cups all-purpose flour
- 1 and 1/2 teaspoons salt
- 1 tablespoon sugar
- 2 and 1/4 teaspoons active dry yeast
- 1 and 1/4 cups warm water
- 2 tablespoons olive oil
Instructions
- In a large bowl, combine warm water, yeast, and sugar. Let it sit until bubbly.
- Add flour, salt, and olive oil to the mixture. Mix until combined.
- Knead the dough on a floured surface for about 10 minutes.
- Place the dough in a greased bowl, cover, and let rise until doubled.
- Shape the dough into a loaf and place it in a greased bread pan.
- Let the loaf rise again until it puffs up, about 30 minutes.
- Bake in a preheated oven at 375°F (190°C) for 25-30 minutes.
- Cool on a wire rack before slicing.
Notes
- For softer crust, cover the bread with a kitchen towel as it cools.
- This bread can be frozen for up to 3 months.
Nutrition
- Serving Size: 1 slice
- Calories: 120
- Sugar: 0.5g
- Sodium: 230mg
- Fat: 2g
- Saturated Fat: 0.5g
- Unsaturated Fat: 1g
- Trans Fat: 0g
- Carbohydrates: 22g
- Fiber: 1g
- Protein: 4g
- Cholesterol: 0mg
Keywords: Homemade Bread


