Introduction to Preserving Apples
Why Preserve Apples?
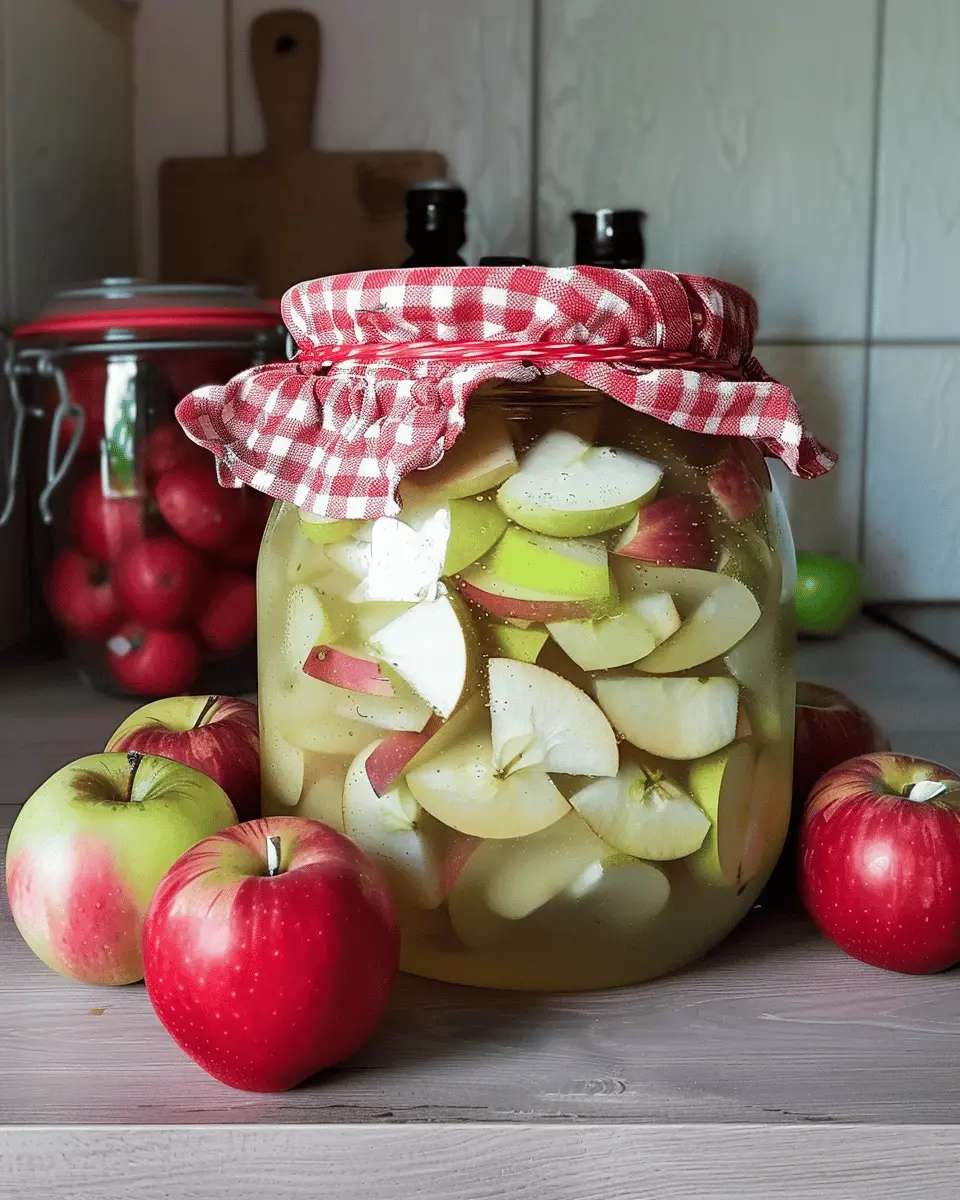
Preserving apples is a remarkable way to enjoy their crisp, sweet goodness all year round. Whether you’re drowning in an autumn apple harvest or simply want to savor that fall flavor during the cold winter months, preserving apples allows you to capture the essence of the season. Additionally, with different preservation methods, from canning to freezing, you can experiment with flavors that suit your taste.
Did you know that the USDA estimates that Americans waste about 30–40% of their food supply? By learning to preserve apples, you can significantly reduce waste while also saving money. Imagine turning the apples that would otherwise go unused into delicious snacks, pies, or sauces!
The Joy of Homemade Food
There’s something profoundly satisfying about creating your own food from scratch. When you engage in preserving apples, not only are you making something nutritious, but you’re also indulging in the joys of self-sufficiency and creativity. Picture this: you’ve spent a lovely afternoon picking apples at a local orchard, and now, the fruits of your labor are transforming into delightful homemade apple butter or tangy apple slices in syrup.
Not to mention, homemade foods allow for control over ingredients. You can tailor spices, sweetness, and even preservatives to your preference, ensuring your creations align with your dietary needs.
Plus, let’s not overlook the emotional aspect! Sharing your homemade apple delicacies with family and friends can spark lovely conversations and memories. It’s a chance to connect and celebrate together over a jar of your special apple preserves at dinner.
Whether you’re looking for easy apple recipes or ways to impress your colleagues at your next potluck, preserving apples is a brilliant solution.
As you embark on this sweet journey into apple preservation, embrace the process—there’s plenty of joy waiting in every step, from selecting the perfect apples to enjoying your delicious concoctions.
For more information on the benefits of preserving food, check out resources like the National Center for Home Food Preservation and let the adventure begin!
Ingredients for Preserving Apples
When embarking on the adventure of preserving apples, choosing the right ingredients is key. Let’s break it down into essential components.
Fresh Apples
Start with high-quality, farm-fresh apples. Opt for varieties such as Granny Smith or Honeycrisp for their balance of sweetness and tartness. Look for apples that are firm and free of blemishes; they’ll hold up better during the preservation process. If you’re curious about the best seasonal picks, check out this guide from the USDA.
Common Preservatives
To keep your apples fresh, you may consider common preservatives such as:
- Lemon Juice: It not only adds a zesty flavor but also helps prevent browning.
- Ascorbic Acid: A vitamin C booster that preserves color and flavor.
- Salt: A classic way to enhance taste while extending shelf life.
Optional Flavorings
Why not get creative? Enhance your preserving apples experience with optional flavorings like:
- Cinnamon: Adds warmth and a hint of spice.
- Vanilla: A touch of sweetness that complements the apple’s natural flavor.
- Clove or Nutmeg: For those who love bold, aromatic touches.
By blending these simple ingredients, you’ll transform your apples into delightful preserved treats perfect for snacking or baking. With a bit of experimentation, you might even stumble upon your new favorite combination!
Step-by-step Preparation for Preserving Apples
Preserving apples is not just a delightful way to capture the essence of fall; it’s an art. Whether you’re aiming for apple sauce, slices for pies, or spiced preserves, the steps to get there can be straightforward and enjoyable. Let’s break it down step by step to ensure your apples are perfectly preserved.
Selecting the right apples
Your journey to preserving apples begins with selecting the right varieties. Not all apples are created equal when it comes to preservation. Some popular options include:
- Granny Smith: Tart and firm, excellent for sauces and pies.
- Honeycrisp: Known for their sweetness and crunch, they hold their shape well.
- Gala: Mildly sweet, great for eating fresh and for preserves.
Visiting a local orchard is a fantastic way to pick your apples. If you’re looking for more guidance, the US Department of Agriculture offers great resources on apple varieties and their best uses.
Cleaning and preparing the apples
Once you’ve chosen your apples, the next step is to ensure they are clean and ready for preservation. Start by rinsing them under cold water to remove any dirt or residues. Here’s how to prep them:
- Remove any blemishes: Inspect each apple and cut away any soft or bruised spots.
- Peel, core, and slice: Depending on your recipe, you may need to peel your apples for some delicious apple sauce or leave the skin on for a rustic touch in preserves.
I remember the first time I peeled a basket of apples—it felt like a farm-to-table experience that was both heartfelt and productive!
Choosing your preservation method
Now comes the fun part—deciding how you want to preserve your apples. The most common methods are:
- Canning: A traditional method that involves sealing apples in jars.
- Freezing: Quick and easy; just place your sliced apples in freezer bags.
- Dehydrating: Great for snacks, you can enjoy dried apples any time of year.
Consider what you’d like to use your preserved apples for, and that can guide your preservation method too!
Preparing the jars
If you choose to can your apples, getting your jars ready is essential. Here’s how:
- Sanitize your jars: Wash them with warm, soapy water and let them air-dry. Alternatively, you can run them through a dishwasher cycle.
- Check for cracks: Make sure your jars are in good condition, as any defects can lead to seal issues.
This step is crucial. According to experts at the National Center for Home Food Preservation, proper jar sanitation helps prevent spoilage.
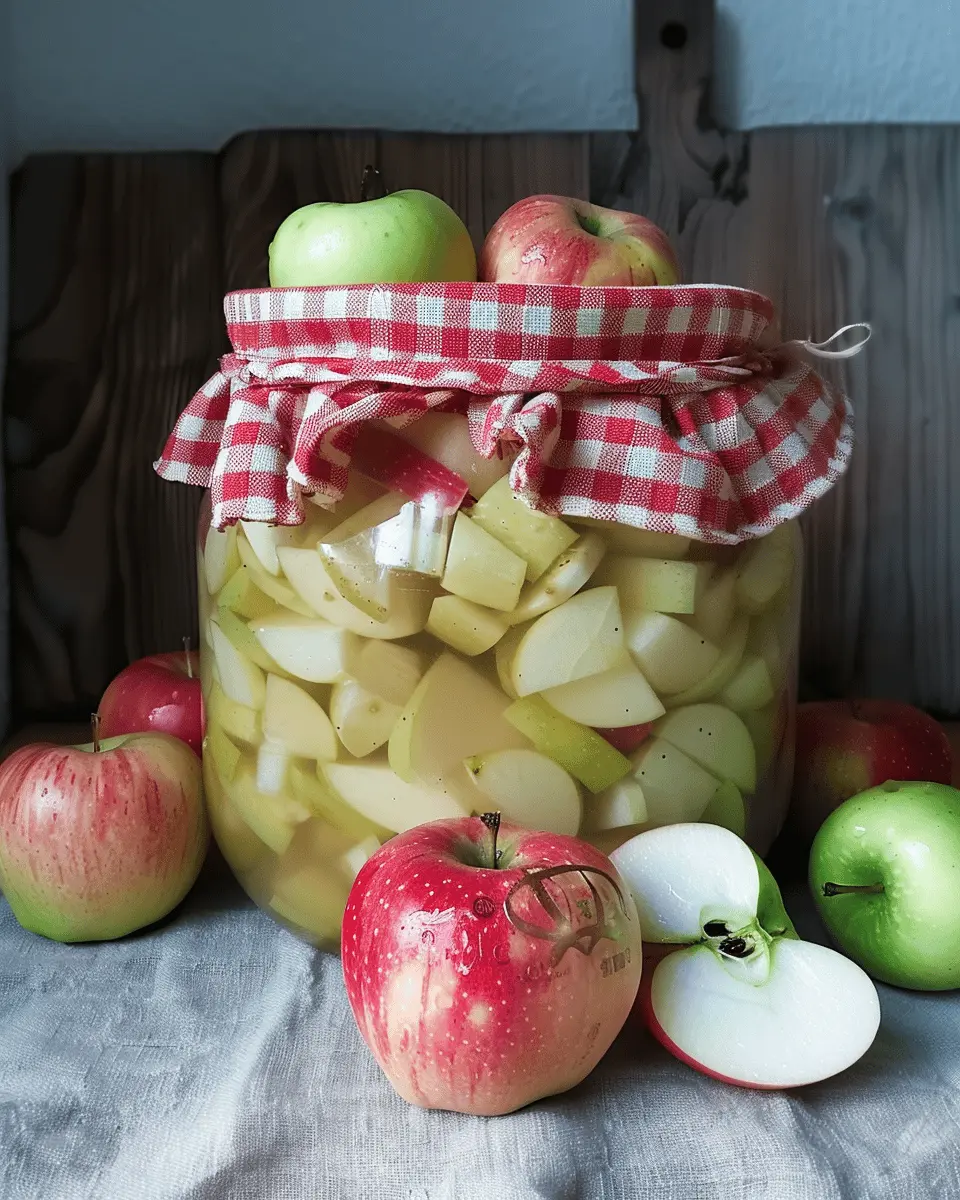
Filling the jars and sealing
Once your jars are prepped, it’s time to fill them. Here’s what you need to do:
- Pack your apples: Arrange the apple slices in the jars tightly to maximize space.
- Add syrup or juice: Pour in a sugar syrup, juice, or even water to cover the apples, leaving about a half-inch headspace at the top.
- Seal the jars: Wipe the rim clean with a clean cloth before placing the lid on and securing it tightly.
The anticipation of sealing those jars makes the whole process even more rewarding, doesn’t it?
Processing the jars
Processing is the final step in your apple preservation journey. Here’s how to do it safely:
- Water bath canning: If you are going that route, submerge your jars in a pot of boiling water for the time specified in your recipe. This ensures a proper seal.
- Monitor the process: Keep an eye on the water level and make sure it remains above the jar tops.
After processing, let your jars cool undisturbed for 12 to 24 hours. If you hear that delightful “ping,” you know your jars have sealed properly!
Preserving apples can elevate your cooking, and the smell of apples wafting through your kitchen is worth it all. Enjoy your delicious creations through the seasons!
Variations on Preserving Apples
When it comes to preserving apples, the possibilities are delightfully diverse. Whether you’re looking to savor the flavors well into the colder months or create thoughtful gifts, here are a few delicious variations to consider.
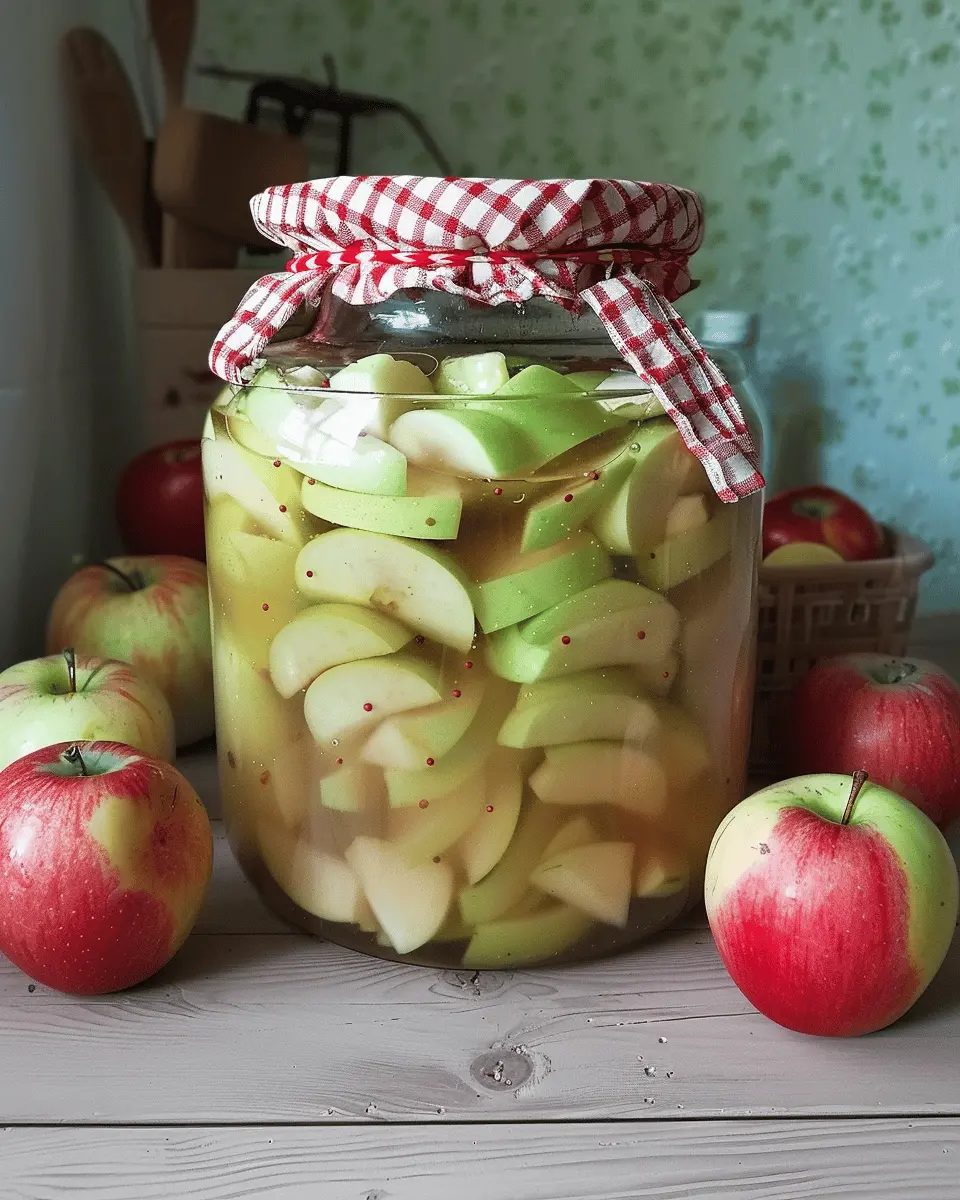
Spiced Apple Slices
Imagine biting into a slice of apple infused with warm spices. To create spiced apple slices, start by slicing your apples and tossing them in cinnamon, nutmeg, and a touch of brown sugar. Next, arrange them in a single layer on a baking sheet and bake at a low temperature until they’re soft yet chewy. These slices are a perfect snack on their own or a fabulous addition to baked goods.
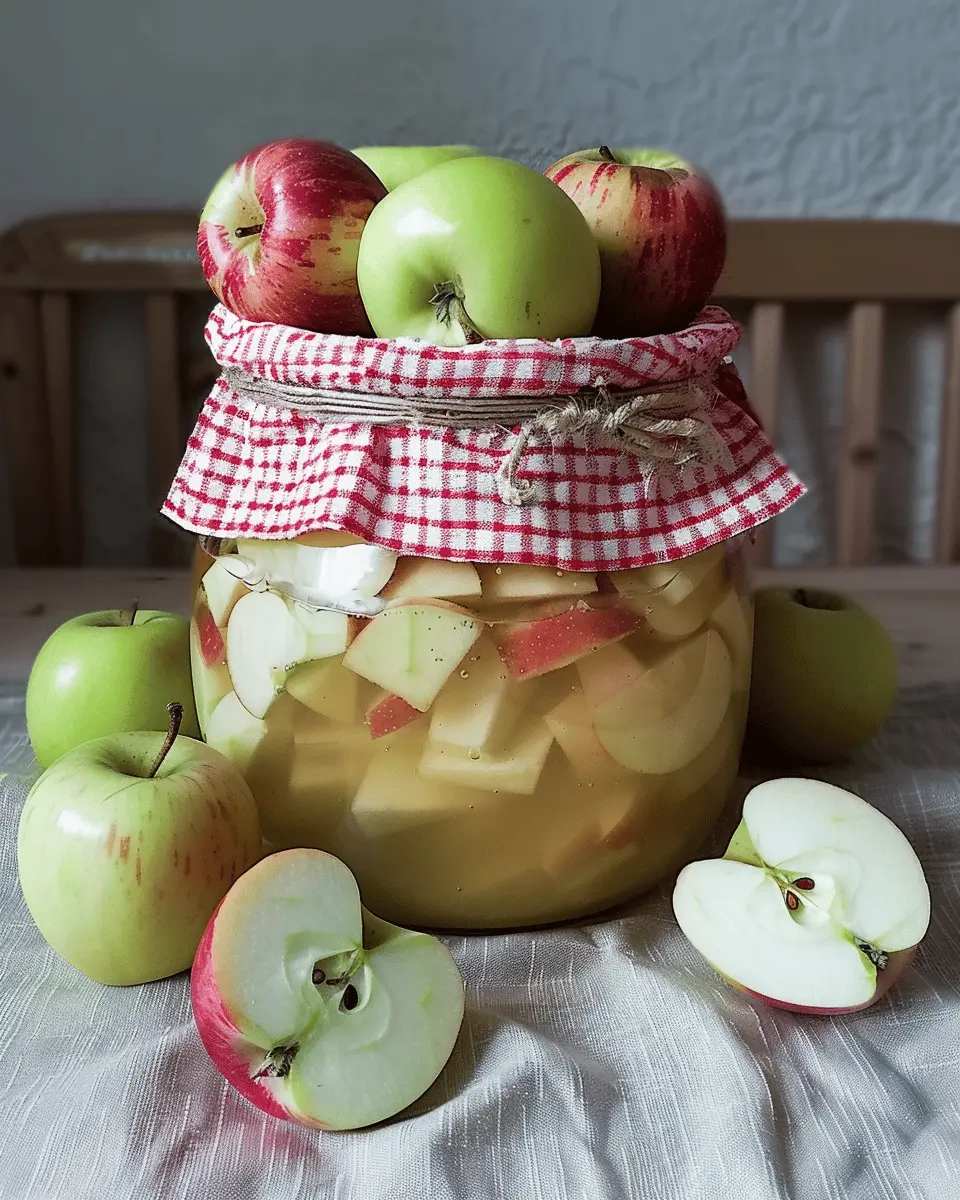
Apple Butter
If you’ve never tried making apple butter, you’re missing out! This spread is incredibly versatile and can be used on toast, pancakes, or as a delightful filling for pastries. Simply cook down peeled and chopped apples with sugar and spice (think cinnamon and clove) until they’re soft, then blend into a smooth consistency. Afterward, let it simmer until it thickens to your desired spreadability.
For an in-depth guide on making apple butter, check out The Kitchn.
Dried Apple Rings
Dried apple rings are another great option for preserving apples. They’re simple to make, requiring just a dehydrator or an oven. Slice your apples thinly and sprinkle with a bit of lemon juice to prevent browning. Dry them until they reach your preferred texture—soft or crispy. These chewy treats are perfect for hiking or as a healthy snack, providing a concentrated source of apple goodness.
Looking for more tips on preserving apples? Don’t hesitate to explore various recipes and techniques online!
Cooking Tips and Notes for Preserving Apples
Tips for Choosing the Best Apples
When it comes to preserving apples, the quality of your fruit can make all the difference. Look for apples that are firm and free from blemishes. Varieties like Granny Smith or Honeycrisp are excellent choices due to their ideal balance of sweetness and acidity. Did you know that apples picked in late summer to early fall tend to have the best flavor and texture for preservation? If you want to learn more about picking apples at their peak, check out this guide.
Storage Tips for Preserved Apples
Proper storage is crucial once you’ve prepared your apples for preservation. Make sure to store your jars in a cool, dark place to maintain their quality. If you’re using your preserved apples in recipes, consider labeling your jars with dates. This little step helps keep track of freshness and makes your pantry organized. The USDA recommends checking your preserved fruits periodically for any signs of spoilage, ensuring you enjoy your delicious canned apples to the fullest!
With these tips in hand, you’re all set to dive into your apple preservation journey!
Serving Suggestions for Preserved Apples
Using preserved apples in desserts
When it comes to preserving apples, the flavor and texture can elevate your desserts. Try folding your preserved apples into a creamy cheesecake batter or layering them in a classic apple pie. You can also toss them into oatmeal or yogurt for a quick breakfast with a twist. For a delightful garnish, chop them finely and sprinkle them over vanilla ice cream. The sweet-tart notes of preserved apples work wonders in balancing flavors, making your treats a standout.
Adding preserved apples to savory dishes
Don’t underestimate the potential of preserved apples in savory dishes! They can add a sweet contrast to rich flavors, like in salads or grain bowls. Try mixing diced preserved apples into a chicken or turkey bacon salad. They also pair beautifully with roasted vegetables or can be blended into sauces for beef dishes. The combination of sweetness, acidity, and umami yields a complex taste profile that will impress your guests.
For more ideas on incorporating preserved apples into your meals, check out Bon Appétit for inspiration!
Time Breakdown for Preserving Apples
When it comes to preserving apples, understanding the time involved can help streamline your process and make it enjoyable. Here’s a handy breakdown.
Preparation Time
Setting aside about 20-30 minutes will get you ready. You’ll need to wash, peel, and core the apples, as well as gather your jars and other essentials. If you’re anything like me, turning on some upbeat tunes while prepping can make this step feel like less of a chore!
Processing Time
The actual processing can take around 45-60 minutes. This includes cooking the apples and filling the jars, ensuring they’re sealed for freshness. In this stage, you can savor the delightful aromas wafting through your kitchen.
Total Time
In total, you’re looking at about 1.5 to 2 hours for the entire process. With a little prep and patience, you’ll be rewarded with homemade goodness that allows you to enjoy apples year-round. Check out resources like the USDA’s guidelines on home canning for more detailed information on times and safety tips in preservation.
Happy preserving apples!
Nutritional Facts for Preserved Apples
When preserving apples, it’s useful to know how they fit into your diet. Here’s a quick overview of their nutritional profile:
Calories
Preserved apples typically contain around 200 calories per cup, making them a low-calorie snack option. This means you can indulge without the guilt—perfect for those busy afternoons when you need a pick-me-up.
Fiber Content
One of the standout benefits of preserving apples is their fiber content. A cup can provide around 4 grams of fiber, supporting your digestive health and keeping you full longer. This makes them an excellent choice for those mindful of their intake.
Sugar Levels
While apples are naturally sweet, preserved versions can sometimes contain added sugars. A serving might have between 10 to 20 grams of sugar, depending on the recipe. It’s always good to check your ingredients, especially if you’re watching your sugar intake.
For more detailed insights on fruit preservation, consider checking out reputable sources like Healthline or WebMD.
FAQs about Preserving Apples
When diving into the delightful world of preserving apples, you may have a lot of questions on your mind. Let’s tackle some of the most common ones.
How long can I store preserved apples?
The shelf life of preserved apples can vary based on the method you use. If you opt for canning, properly sealed jars can last for up to a year in a cool, dark place. However, if you’ve dehydrated your apples, they can last for several months when stored in an airtight container. Always check for signs of spoilage, like off smells or mold, and remember that while quality may decrease over time, these methods help to preserve the fruit’s essence.
Do I need to process the jars?
Yes, processing the jars is essential in preserving apples. This step not only seals the jars but also eliminates harmful bacteria. You can use a water bath canner for high-acid foods like apples, which makes it both safe and efficient. For more detailed guidance on the canning process, the USDA has fantastic resources to help ensure you’re doing it correctly USDA Complete Guide.
What are the best apples for preserving?
When it comes to preserving apples, certain varieties shine brighter than others. Consider using:
- Granny Smith: Tart and firm, perfect for pies or sauces.
- Honeycrisp: Sweet with a crisp texture, great for all types of preserving.
- Fuji: Naturally sweet, excellent for dried apple slices.
Choosing fresh, high-quality apples is key to achieving delicious results. So, what are you waiting for? Get your hands on those apples and start your preserving adventure!
Conclusion on Preserving Apples
Recap of the benefits of preserving apples
Preserving apples not only enhances their flavor but also extends their shelf life, ensuring you can enjoy seasonal delights all year round. Whether you choose to can, freeze, or dehydrate, you’ll save money and reduce food waste. Additionally, homemade preserves are free from preservatives and additives, making them a healthier choice compared to store-bought options. Plus, think of the joy of giving homemade apple products as gifts!
Encouragement to try preserving at home
Now that you’re equipped with the knowledge of preserving apples, why not give it a try? It’s a rewarding activity that anyone can master with a little patience. Experiment with your favorite varieties and enjoy the satisfaction of creating something delicious. If you’re looking for more tips, check out resources like the USDA’s guide on safe food preservation. You’ve got this!
PrintPreserving Apples: Easy Tips for Delicious Homemade Treats
Learn how to preserve apples with easy tips for making delicious homemade treats that you and your family will love.
- Prep Time: 20 minutes
- Cook Time: 10 minutes
- Total Time: 30 minutes
- Yield: 5 jars 1x
- Category: Preservation
- Method: Canning
- Cuisine: American
- Diet: Vegetarian
Ingredients
- 5 pounds apples
- 1 cup sugar
- 2 teaspoons cinnamon
- 1/4 cup lemon juice
- 4 cups water
Instructions
- Wash and peel the apples, then cut them into slices.
- In a large pot, combine water, lemon juice, sugar, and cinnamon.
- Bring the mixture to a boil, then add the apple slices.
- Cook for about 10 minutes until apples are tender.
- Transfer apples to sterilized jars and seal them properly.
Notes
- For added flavor, consider adding nutmeg or vanilla.
- Store the preserved apples in a cool, dark place.
Nutrition
- Serving Size: 1 jar
- Calories: 150
- Sugar: 30g
- Sodium: 5mg
- Fat: 0g
- Saturated Fat: 0g
- Unsaturated Fat: 0g
- Trans Fat: 0g
- Carbohydrates: 38g
- Fiber: 3g
- Protein: 1g
- Cholesterol: 0mg
Keywords: preserving apples, homemade apple treats, canning apples


